Pecan Slab Dining Table
September 2, 2026
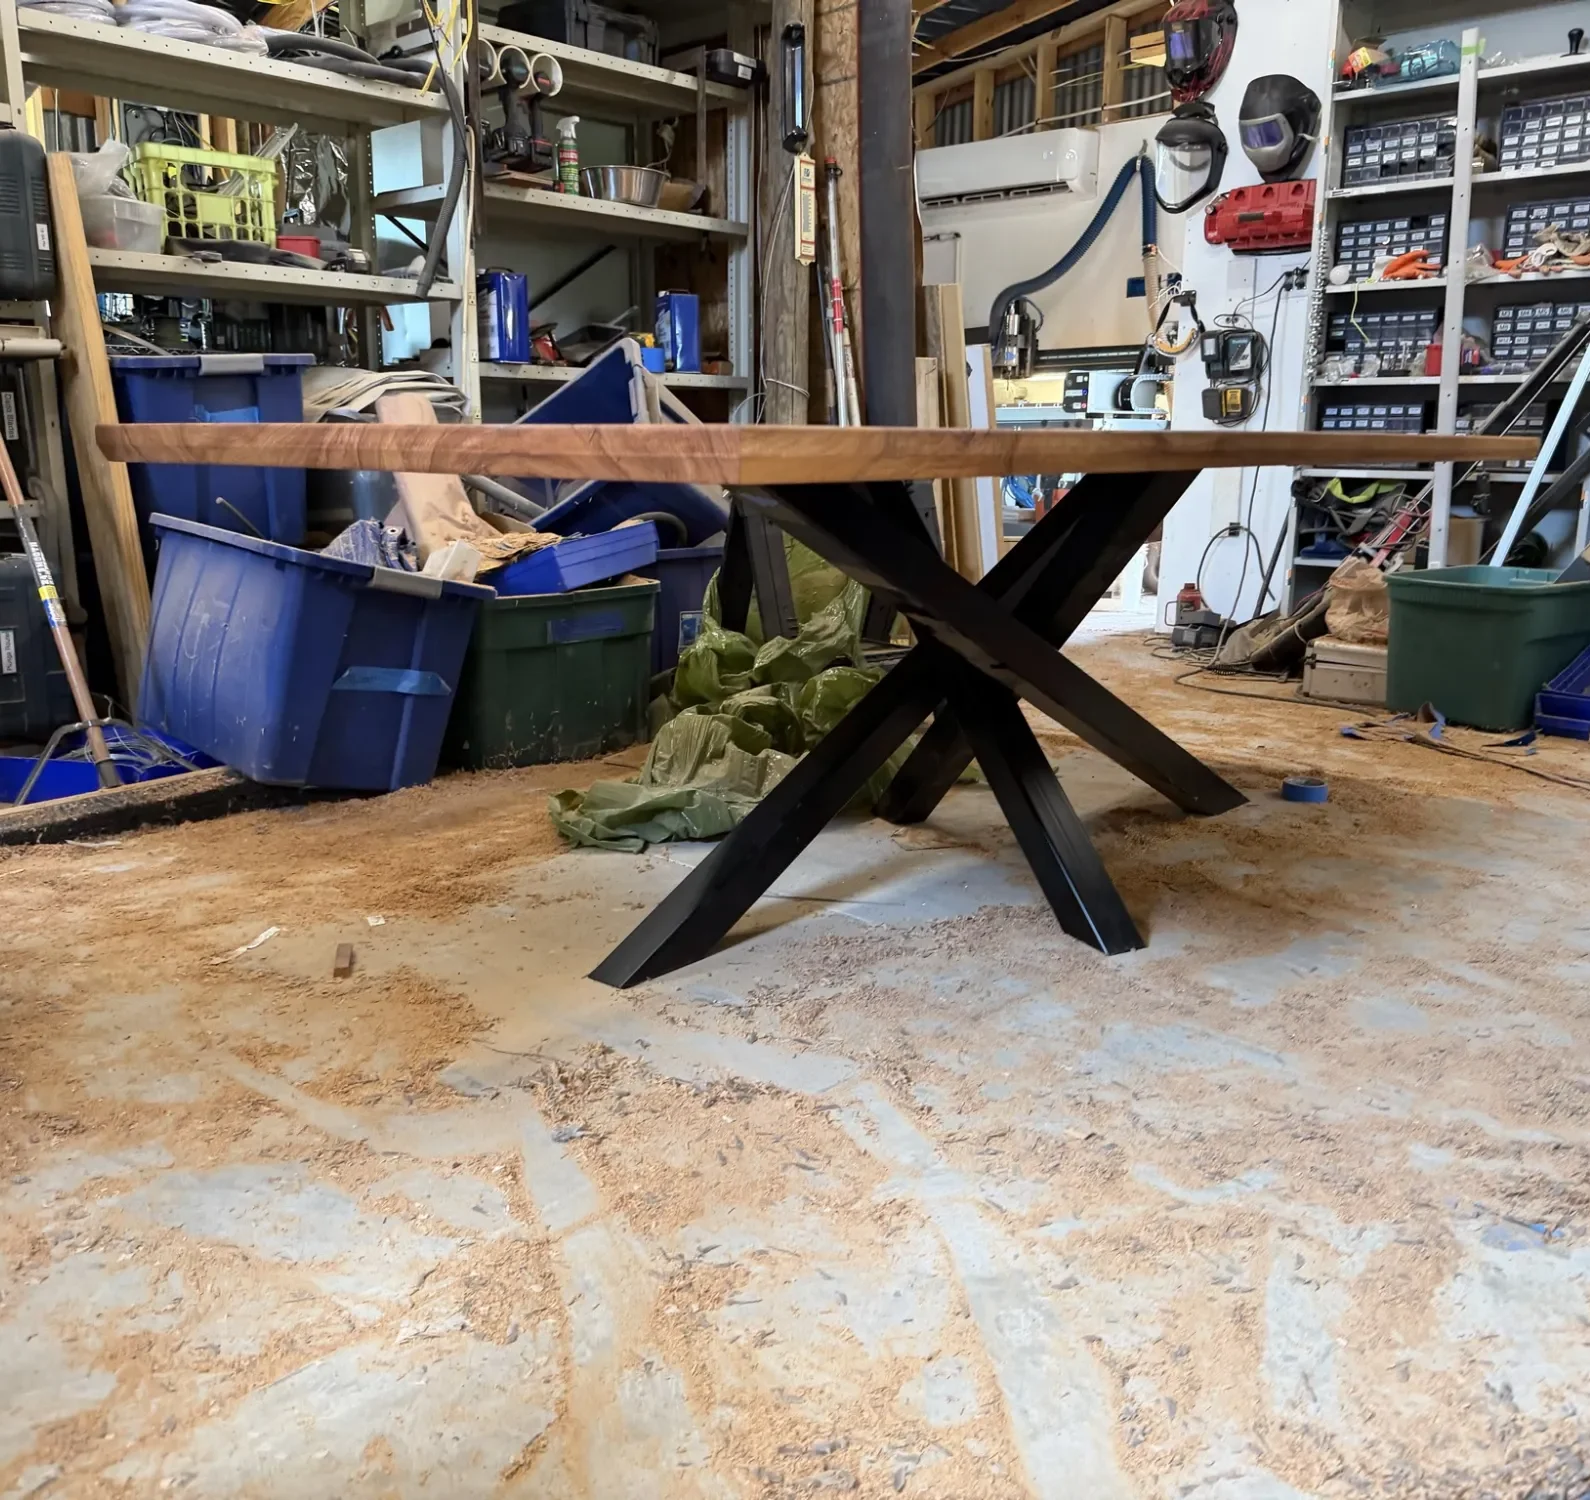
We moved to a bigger house in September 2026. Given there’s more space to have people over for BBQ, we needed to upgrade our dining table. I decided to build a slab table. This involved the largest glue-up I’d done to date, as well as welding a birdsnest table base reminiscent of a antitank barrier.
Designing the base
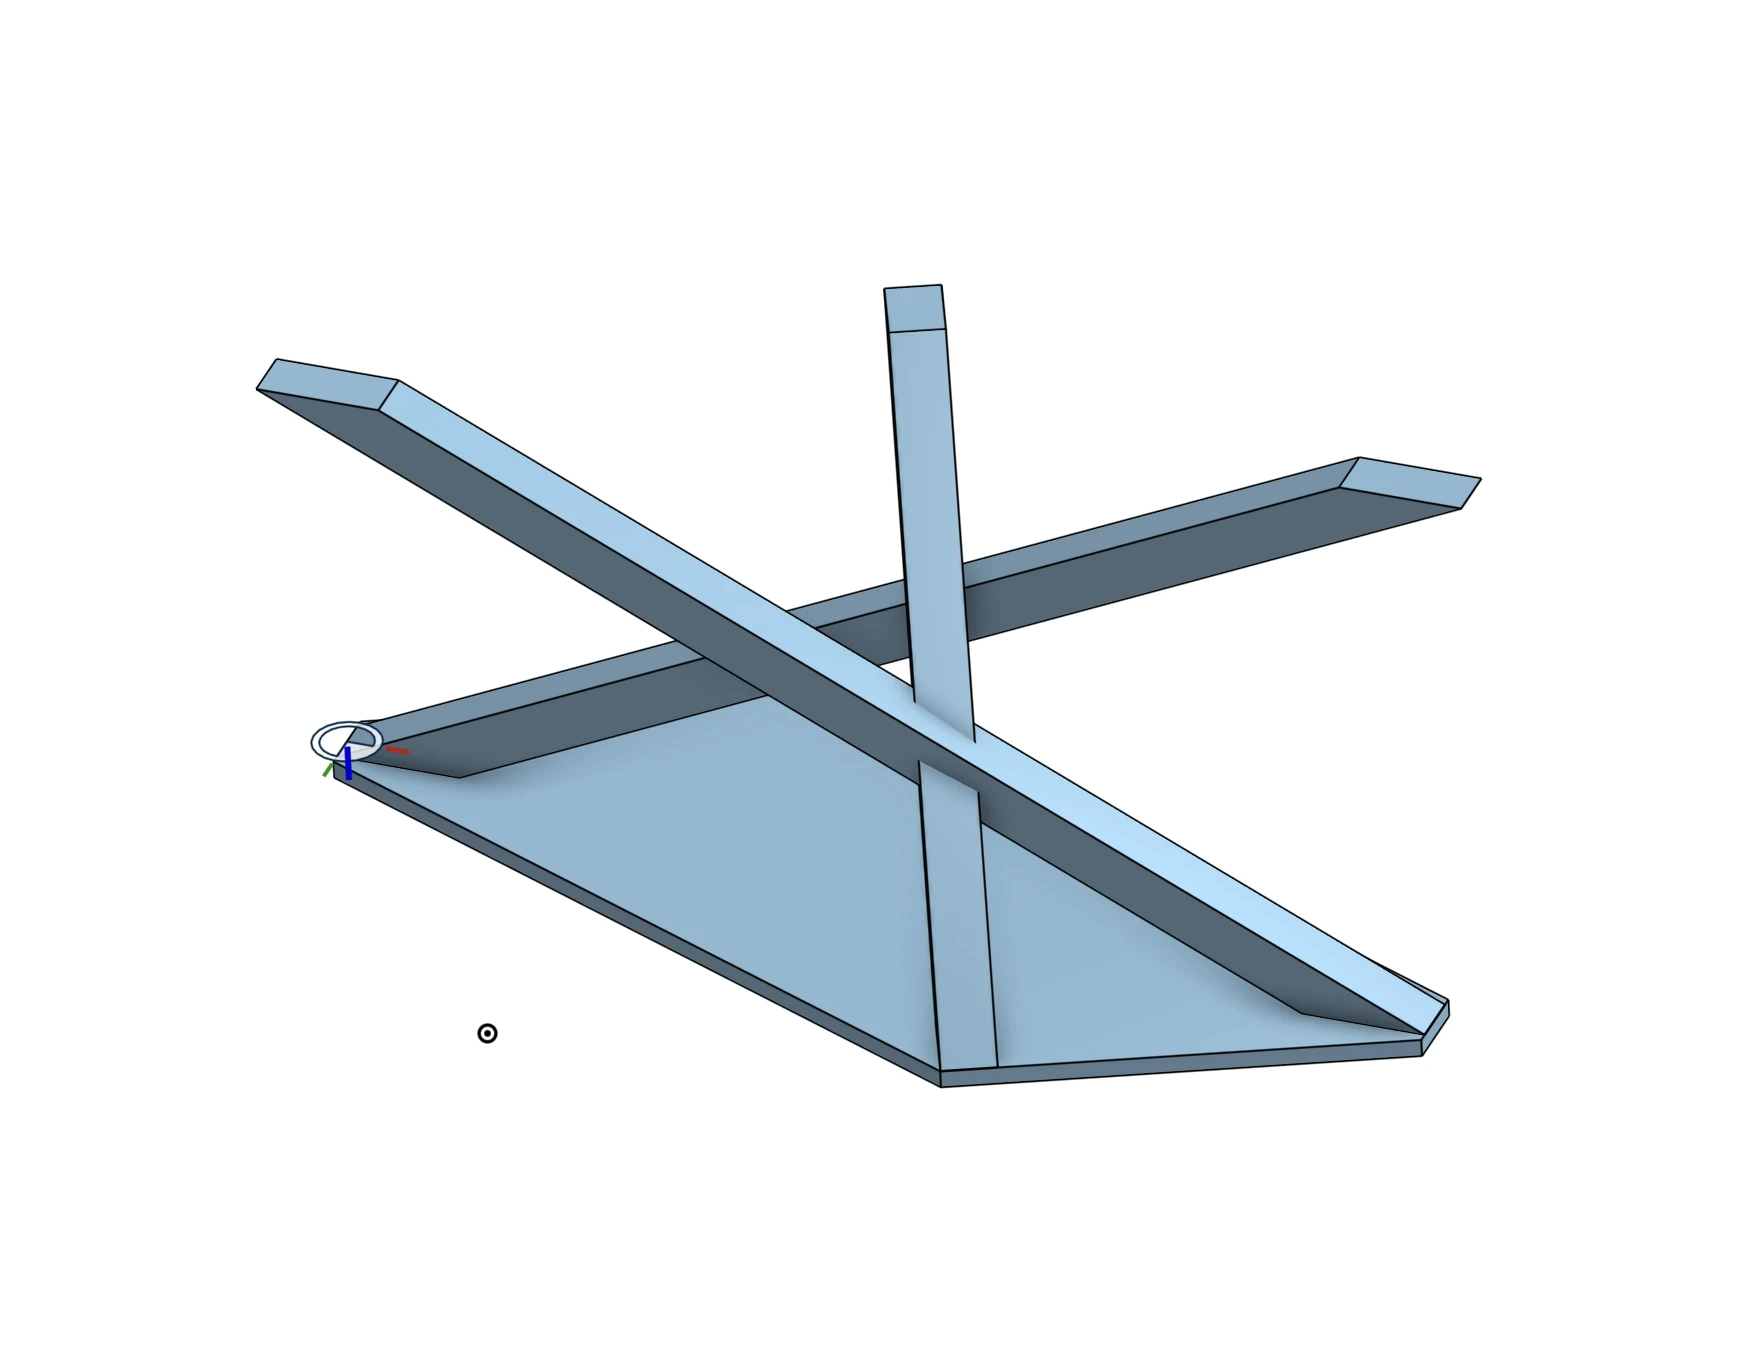
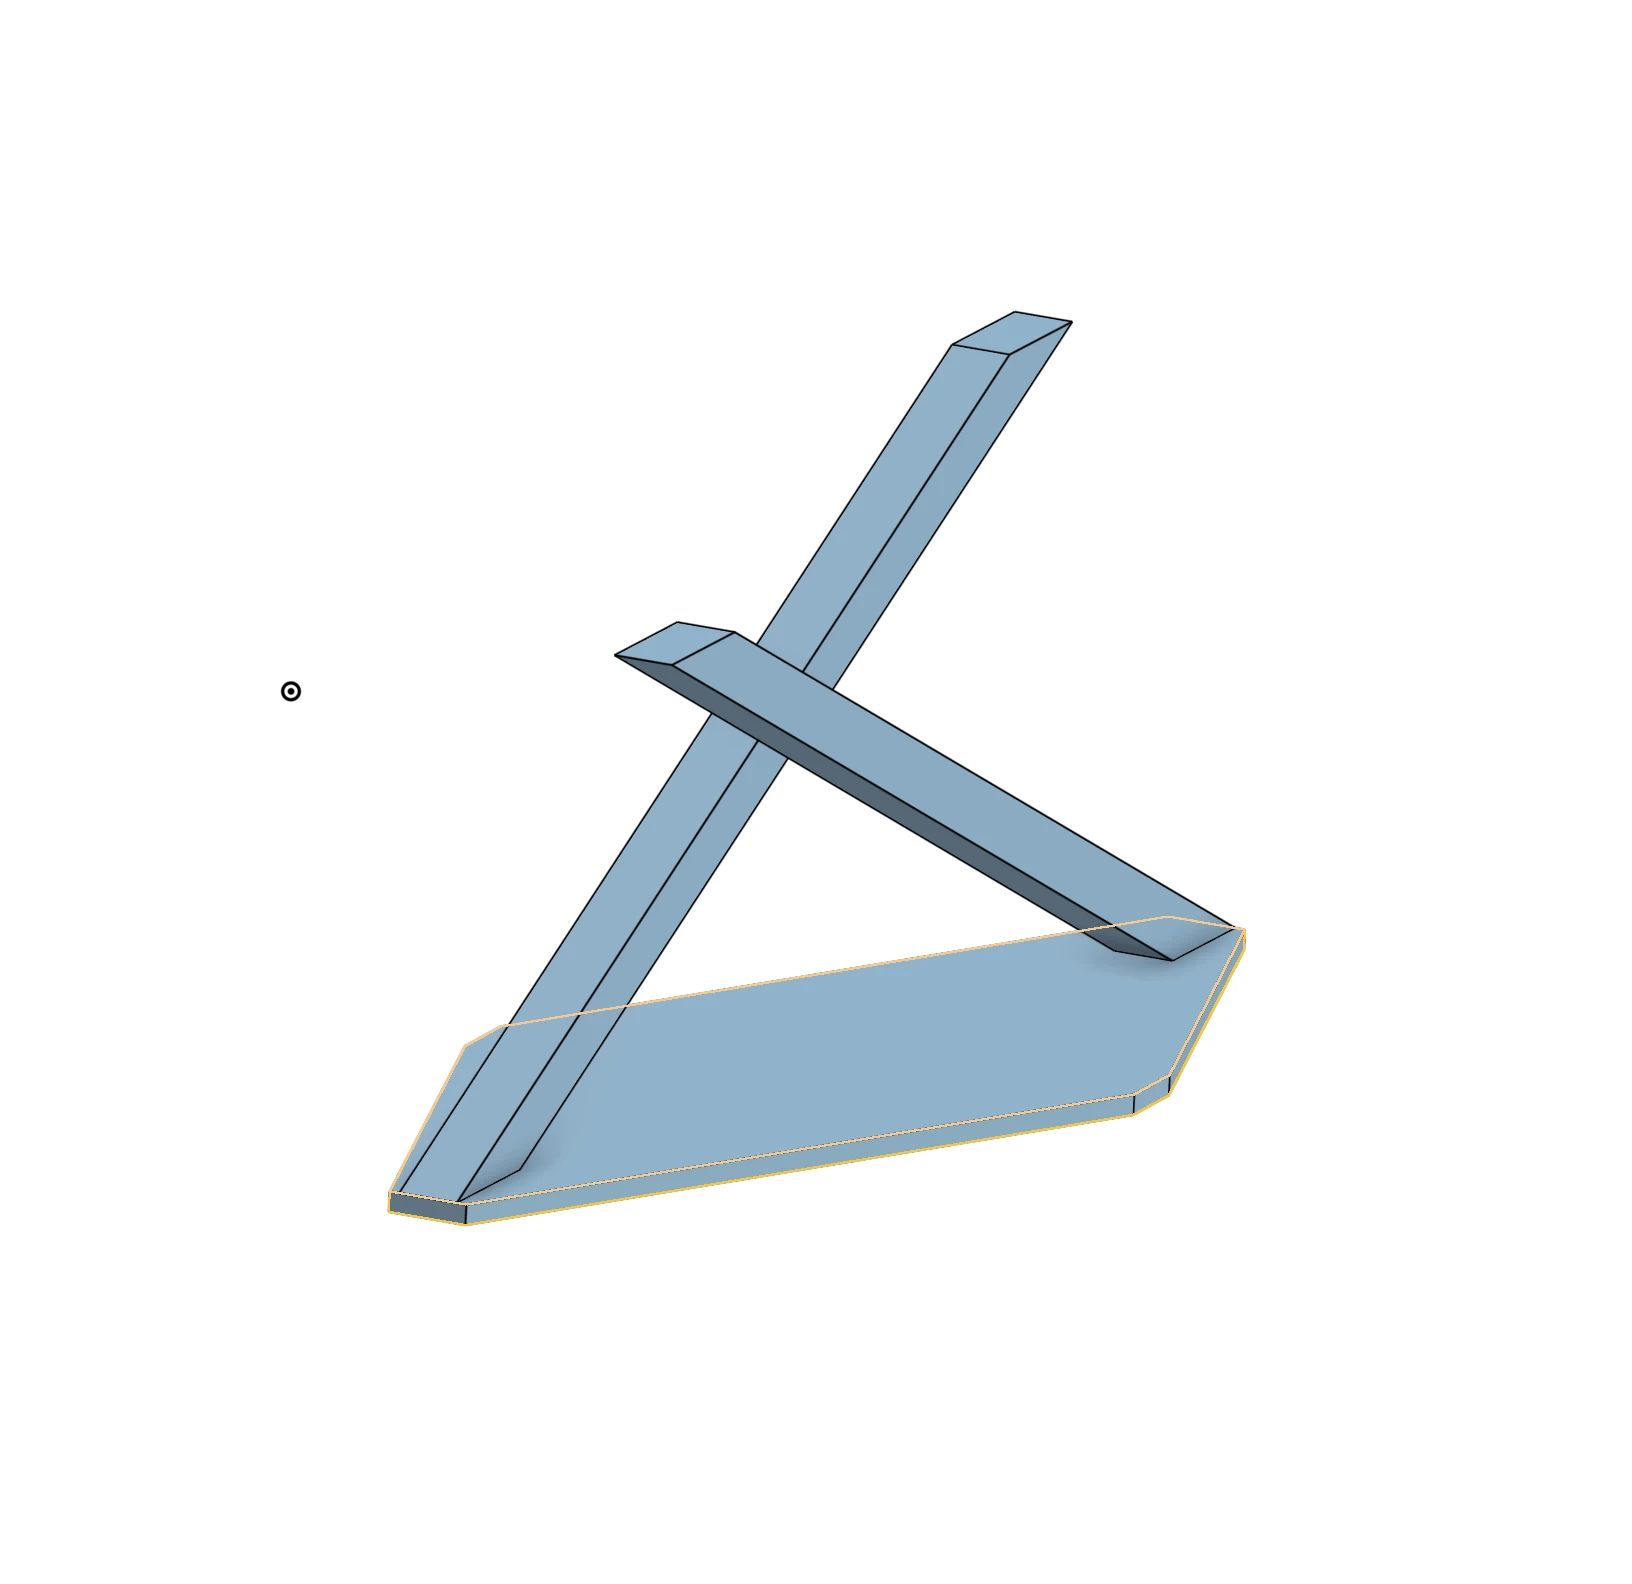
The base is a reasonably popular design for custom furniture makers to use, but there are not free plans online describing the angles and lengths of the components. I started by spending a few hours in CAD attempting to design and settle on the right proportions for the table I was building. Constraining the model and settling on the right angles for the miters was challenging. Eventually once I got “close enough” I decided to punt the final layout to later on in the assembly process.
Fabricating the base
I used 3x3 inch square tubing for the base of the table. These were cut at 26 degree miters to form the individual legs. I then welded on top tabs which would later be affixed to the table top.
Individual legs could then be clamped to the welding table. 2 hours of clamping, re-clamping and generally adjusting the layout were required before I was content with the setup.
I then mig welded some tacks to freeze the layout, before welding in some small hidden angle iron supports in the middle of the base.
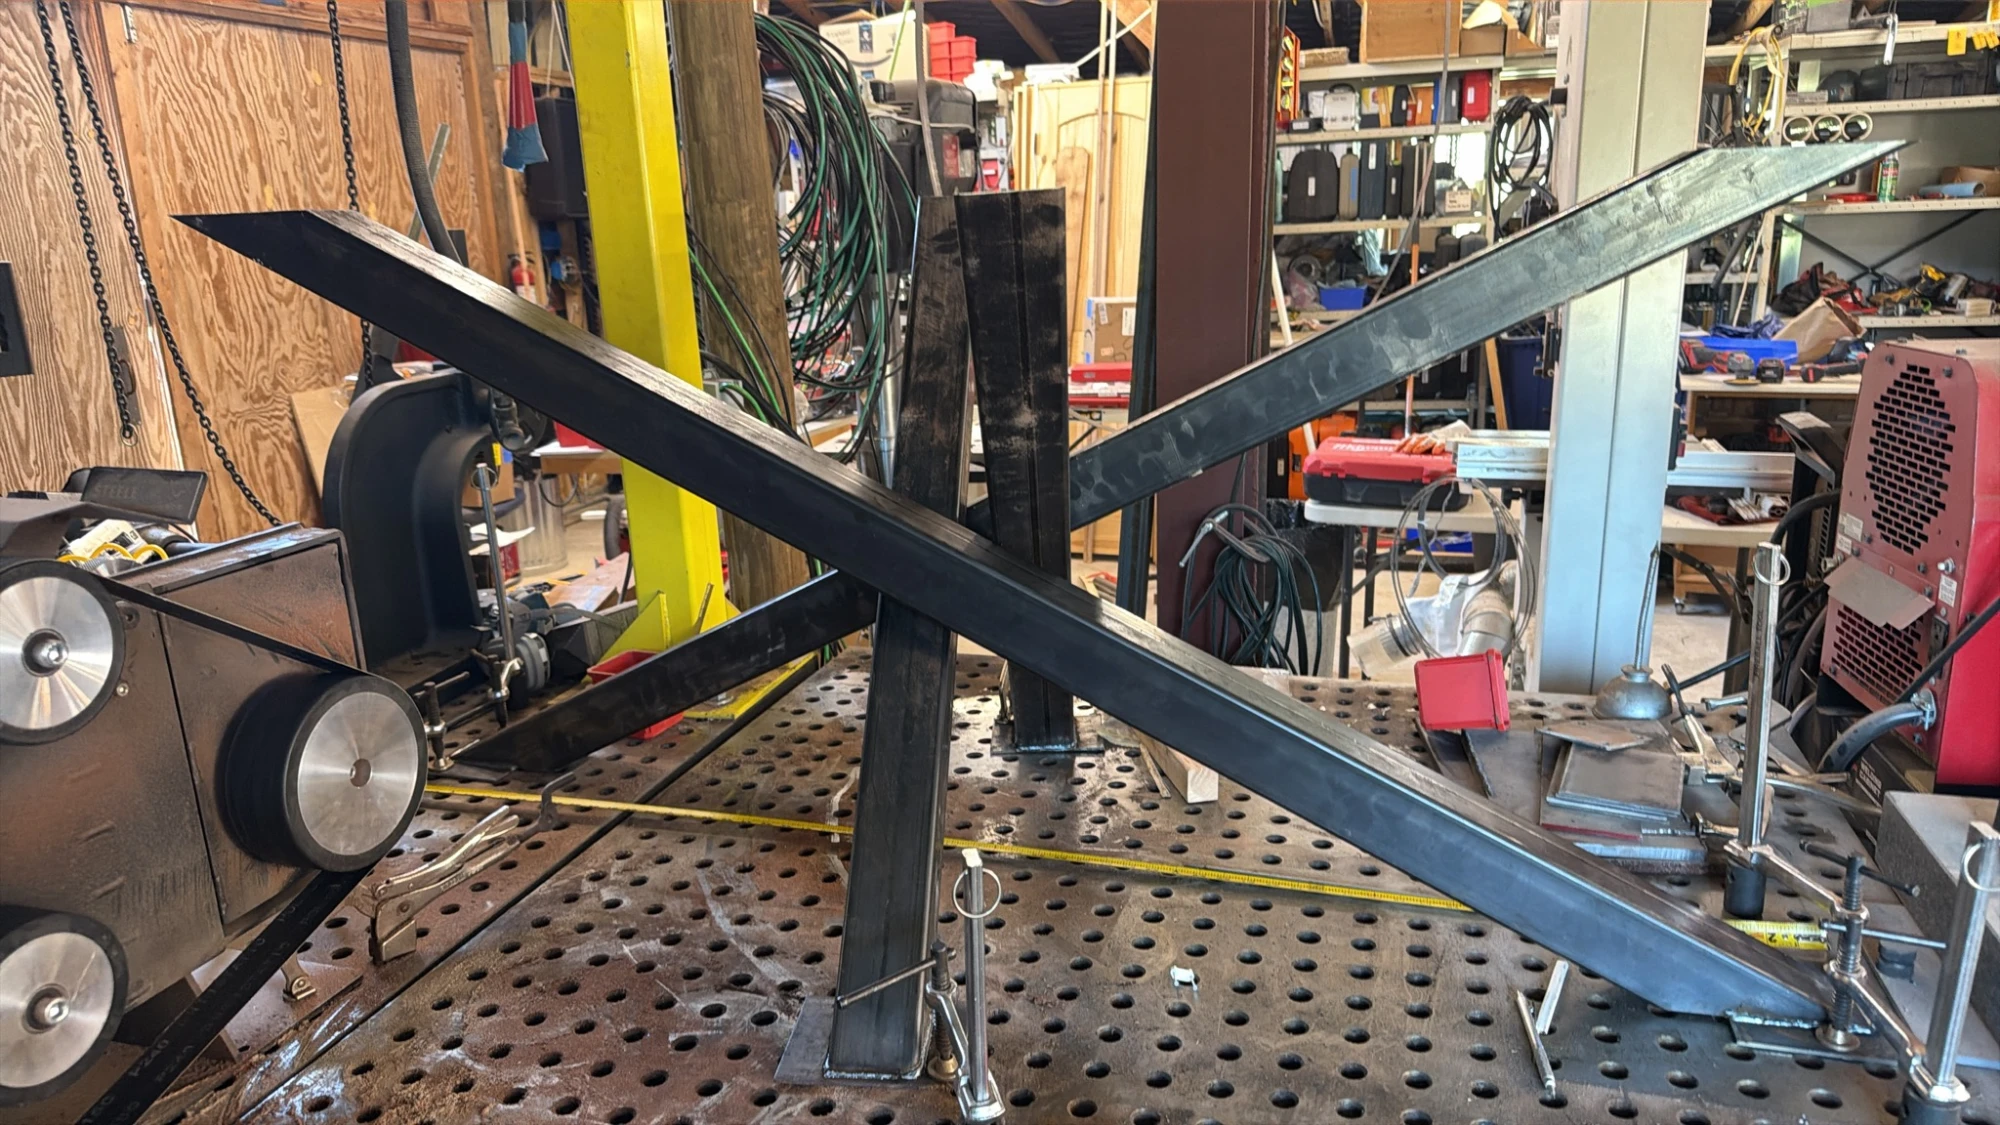
The base was sent for matte black powdercoating once finished. This applies a nice durable rustproof finish to the steel.
Selecting the slabs
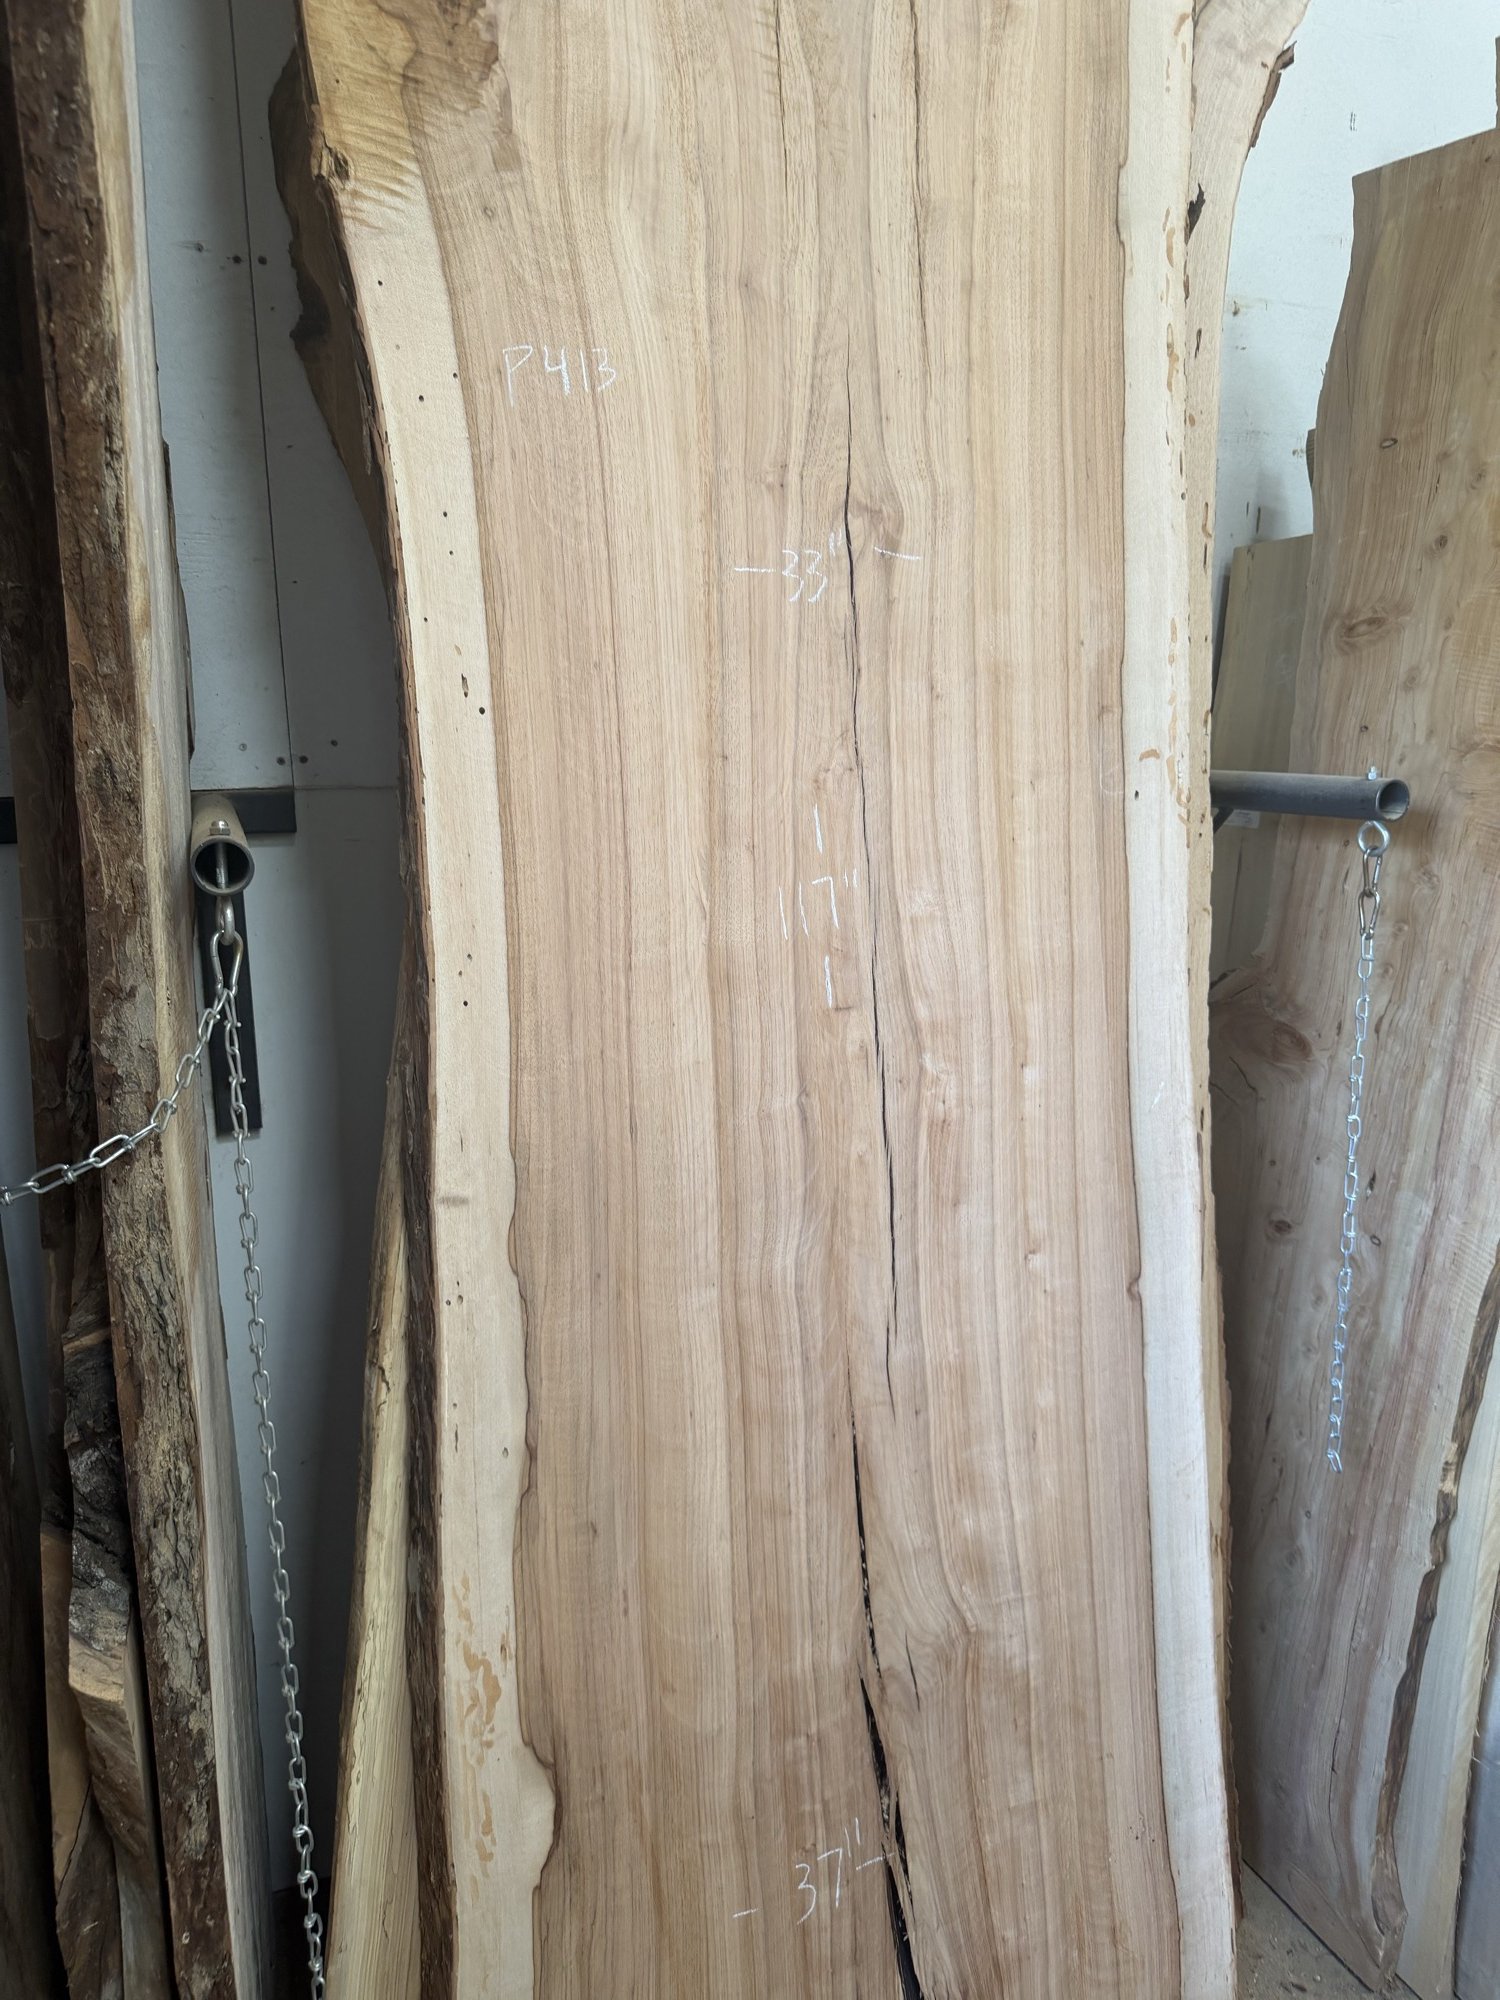
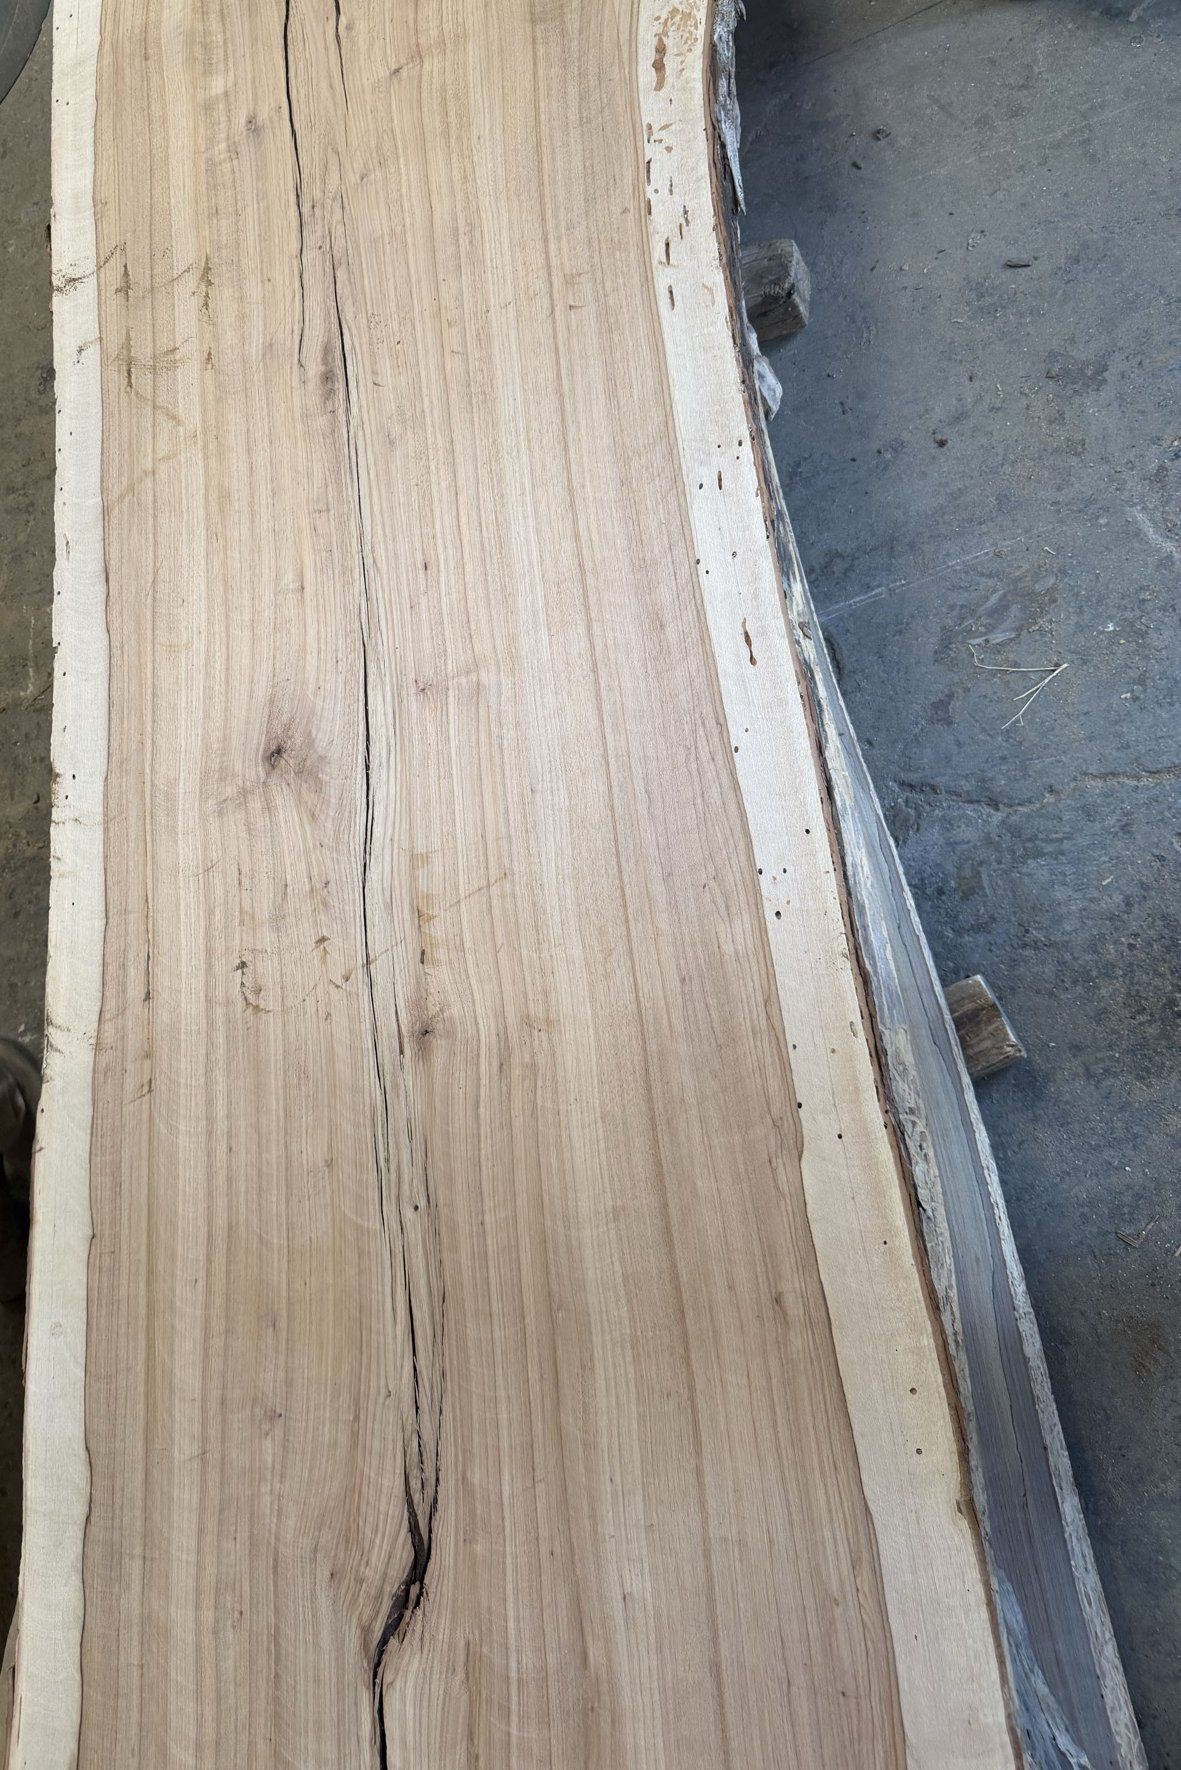
I found the slabs from a local lumberyard. They mill felled trees in the Austin TX area, kiln dry them, and rough them to thickness. I found 2 bookmatched pecan slabs that were about 2.25 in thick, and 30in wide.
Glueing the top
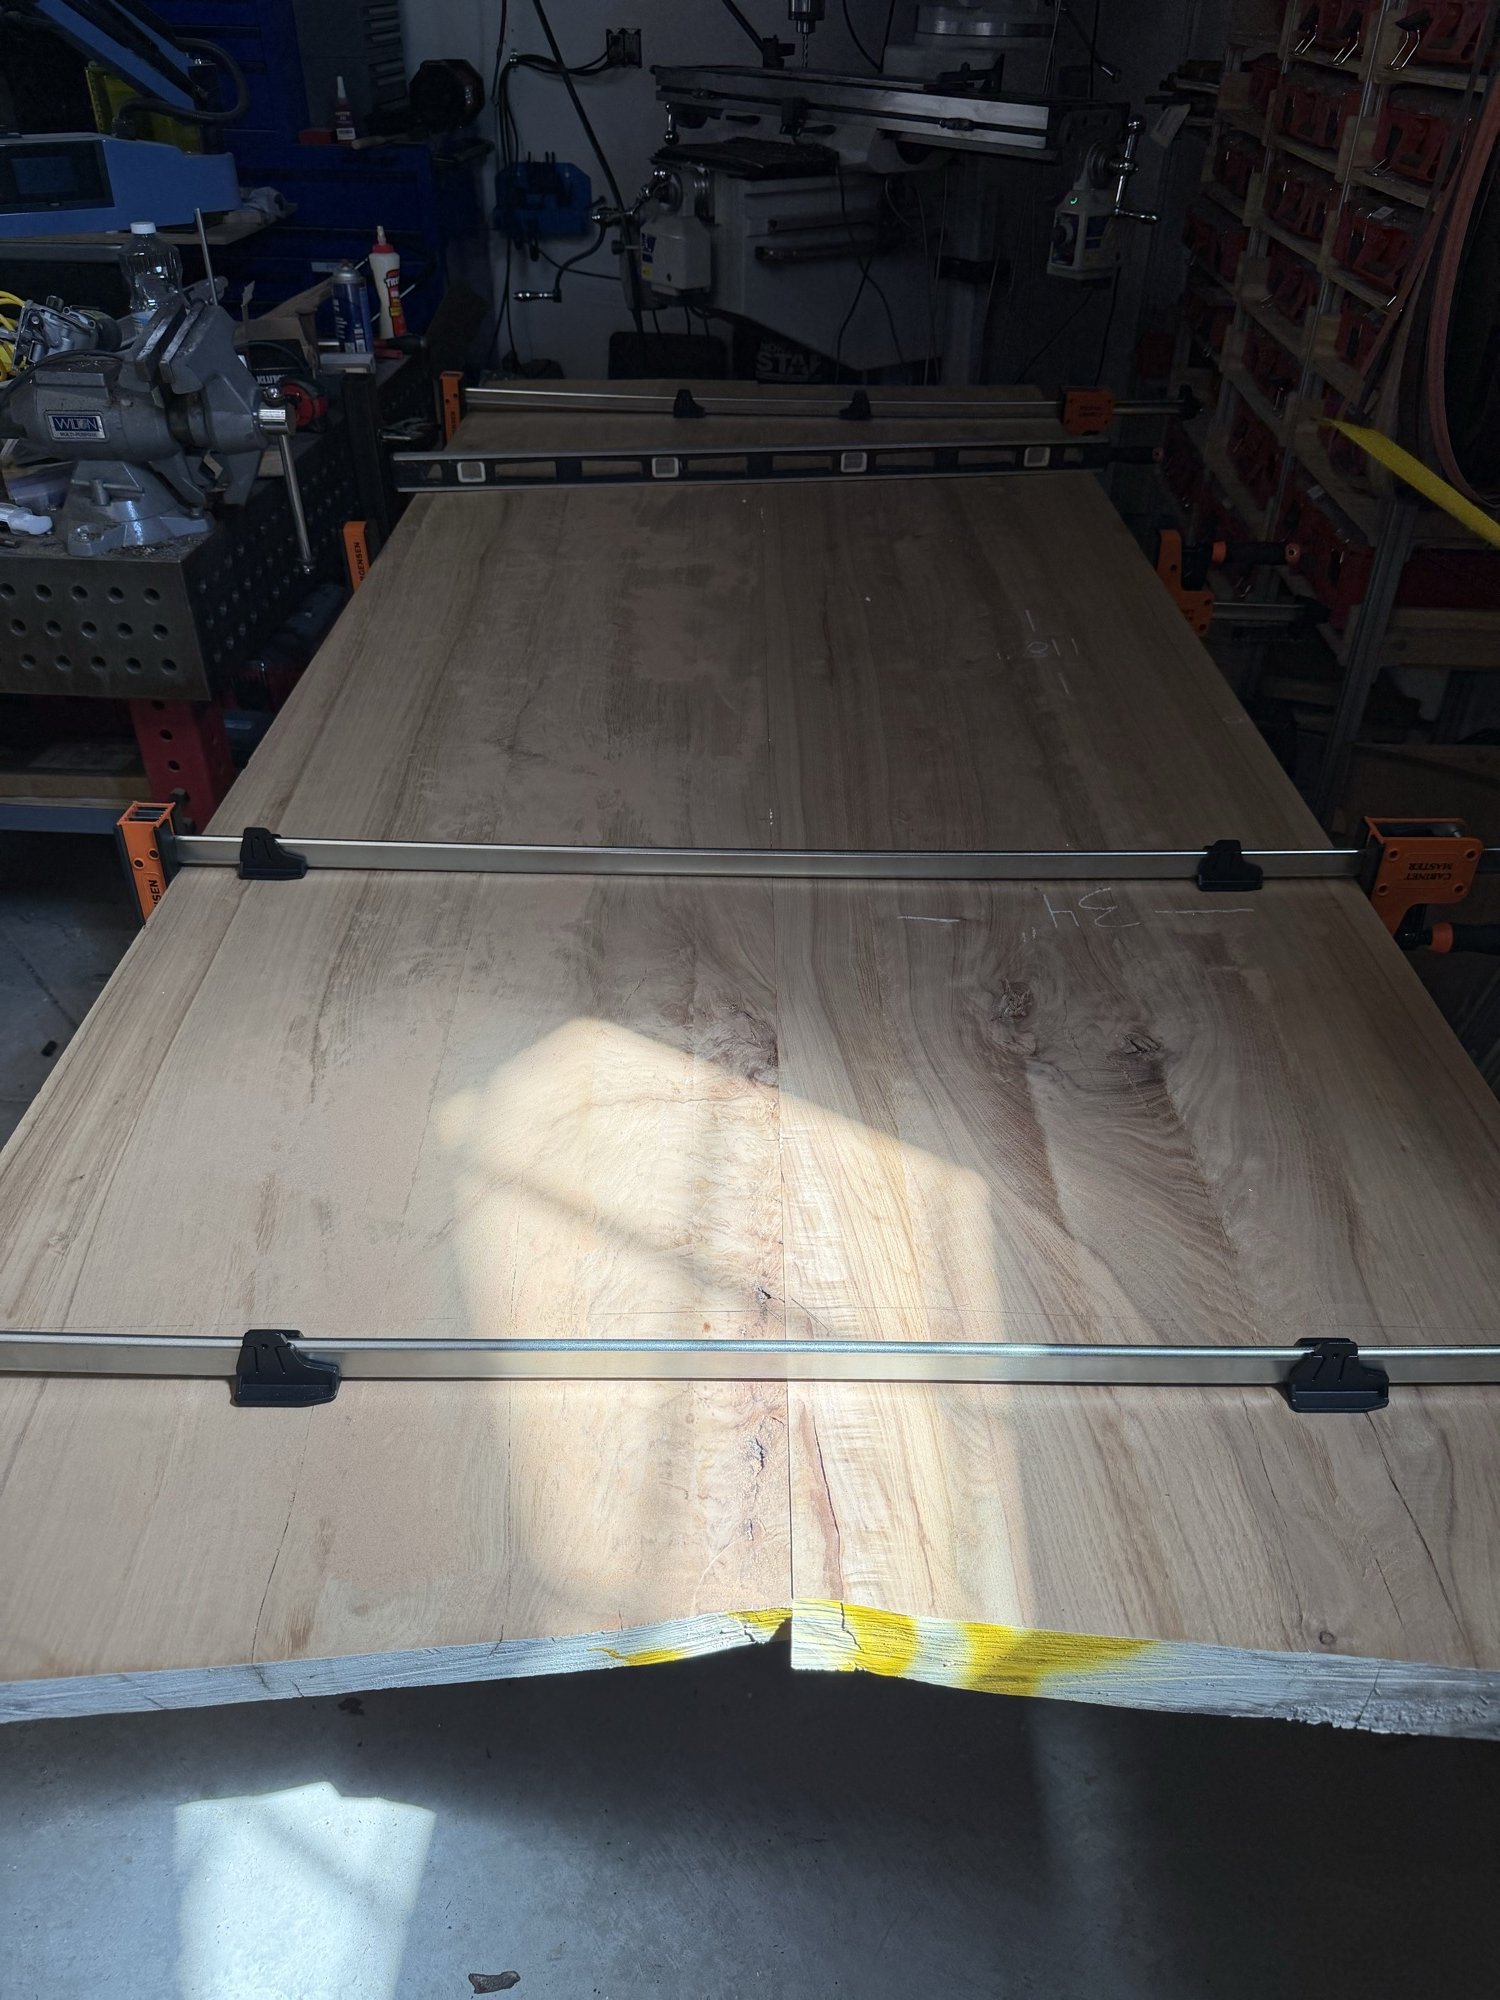
I cut the slabs to rough width, and glued them together to preserve the book matched pattern. This involved adding a few biscuits for alignment, and a rather nervewracking glueup where I raced the set-up time to clamp everything together.
Getting the top surfaced
After glueing up the table top, I cut it to 2in wider and longer than my finished tabletop needed to be. I sent it to a local sawmill to be planed to thickness to get rid of the milling marks and a few low spots in the slabs.
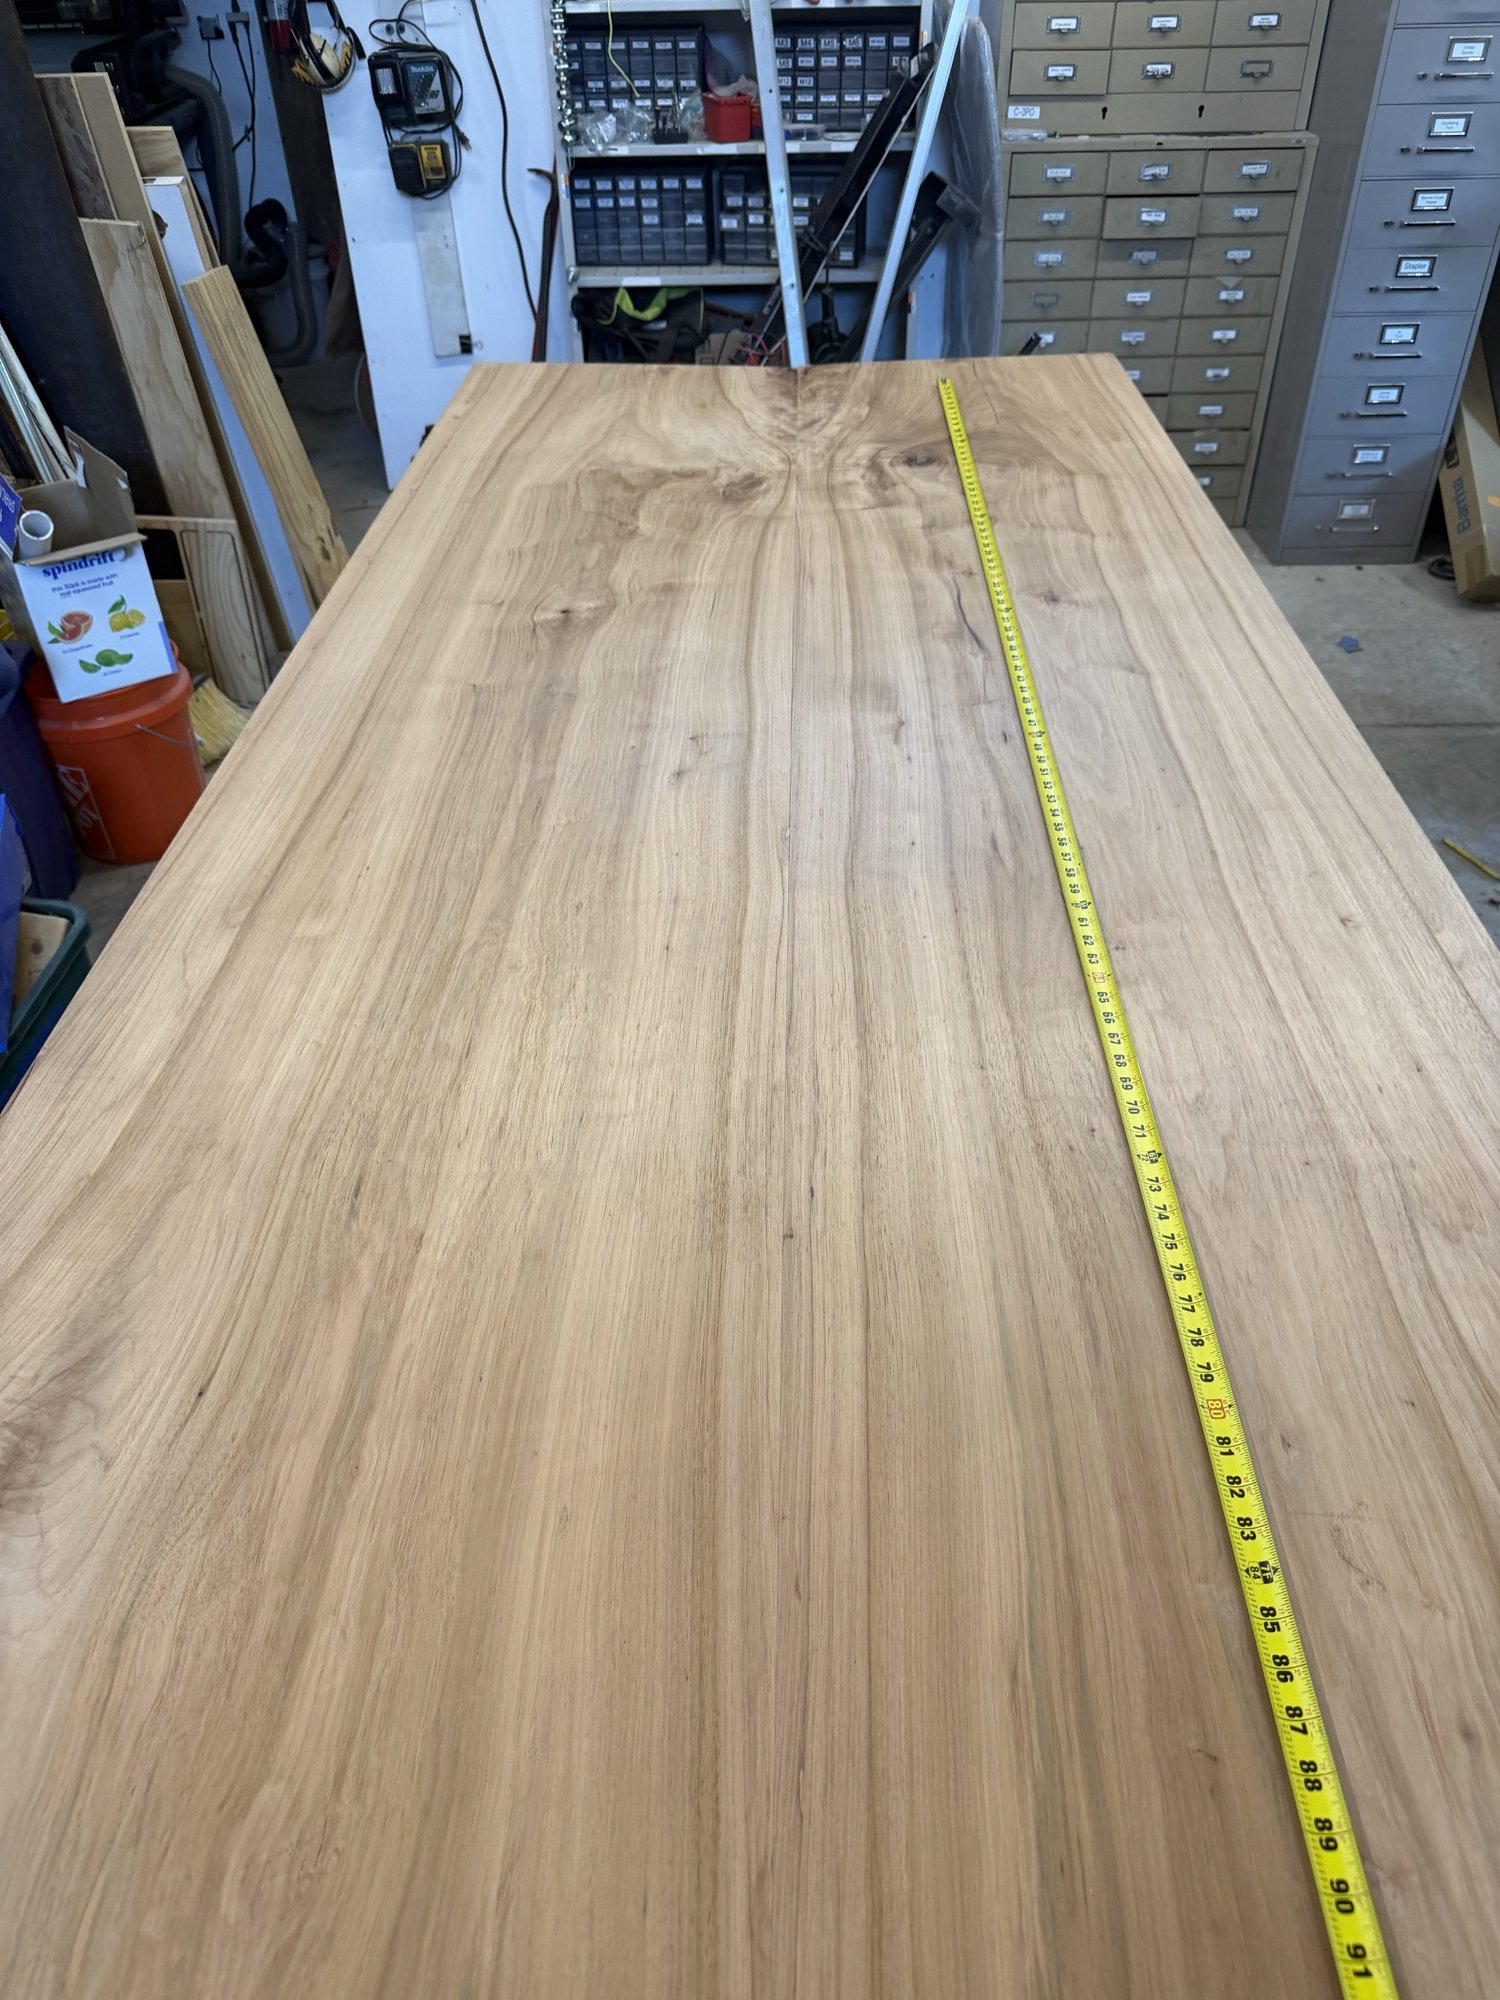
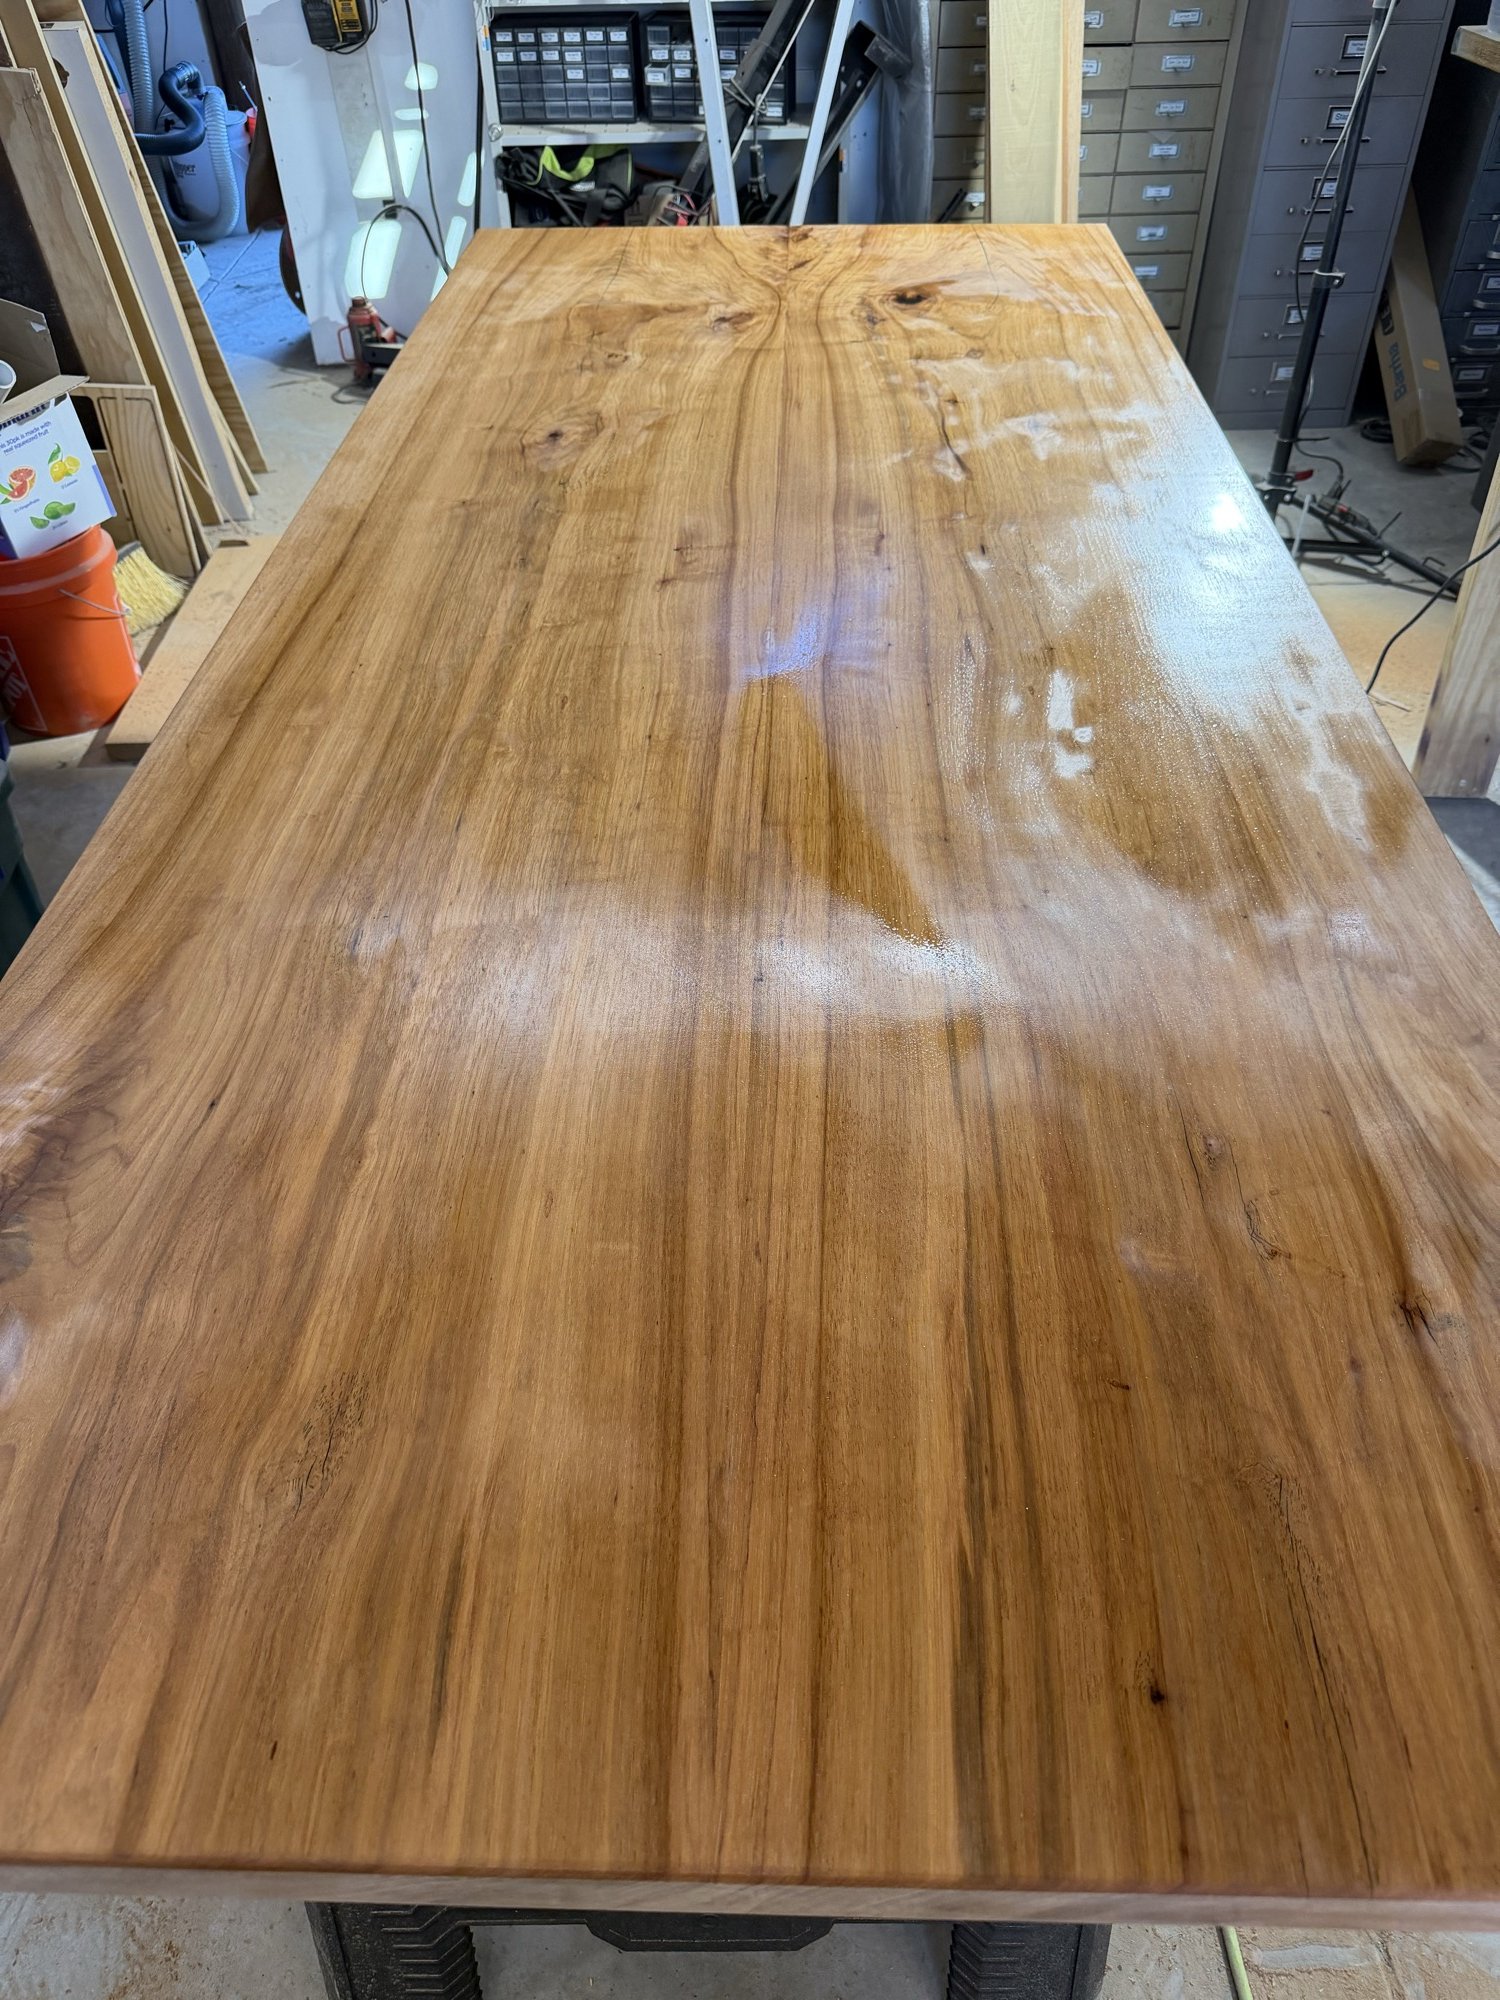
After surfacing, I trimmed to length, and applied Rubio Monocoat finish.
Attaching the base
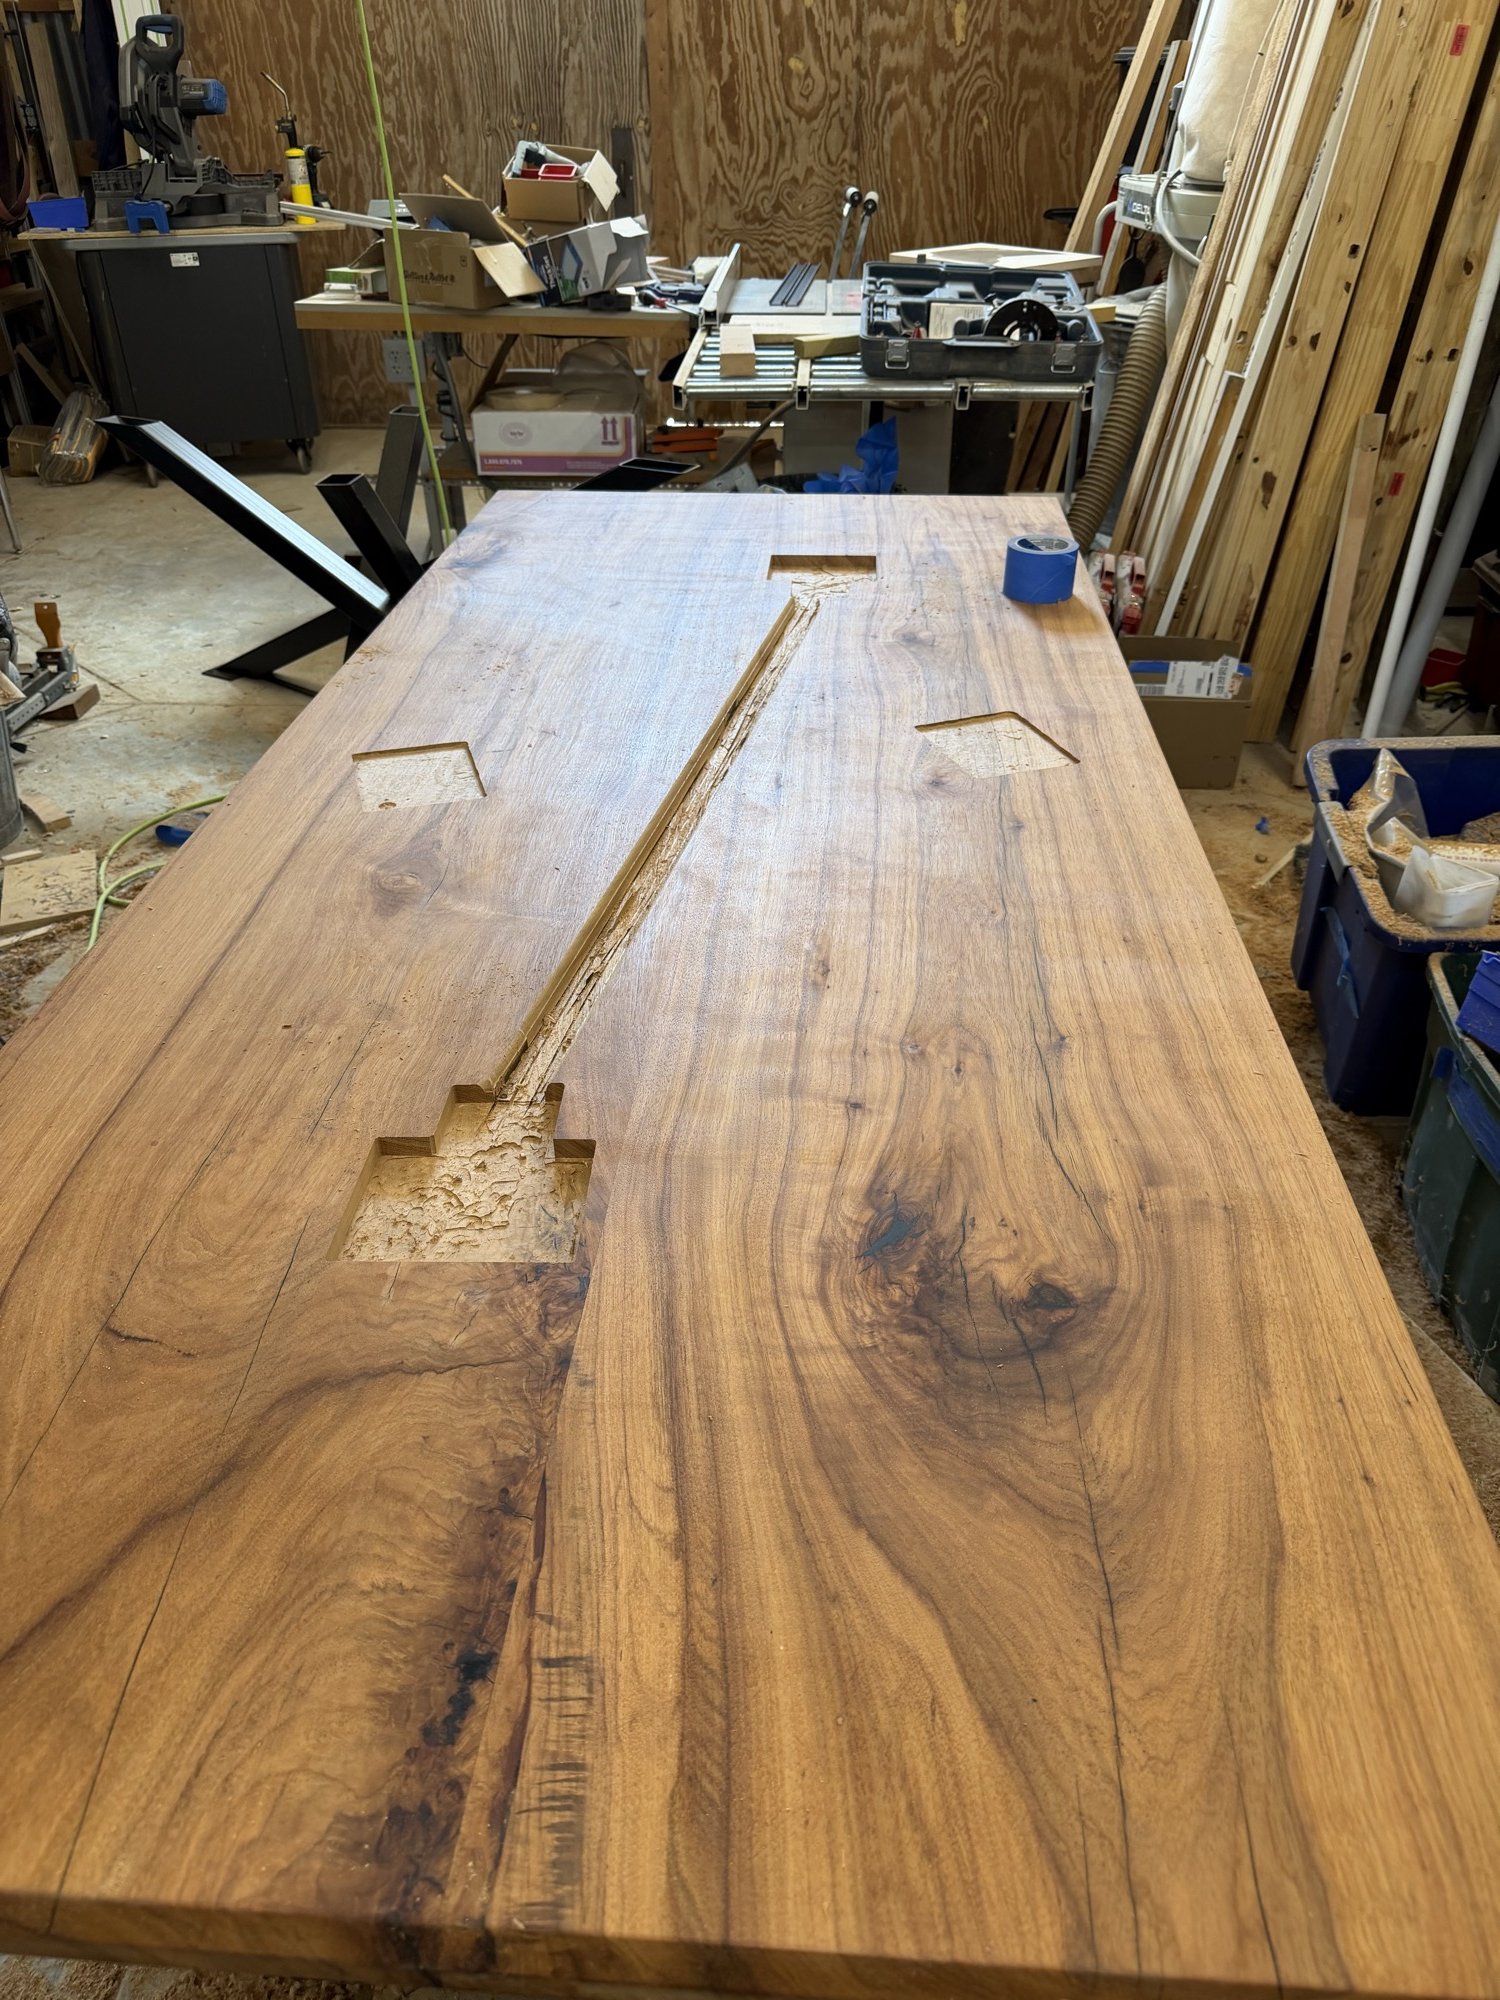
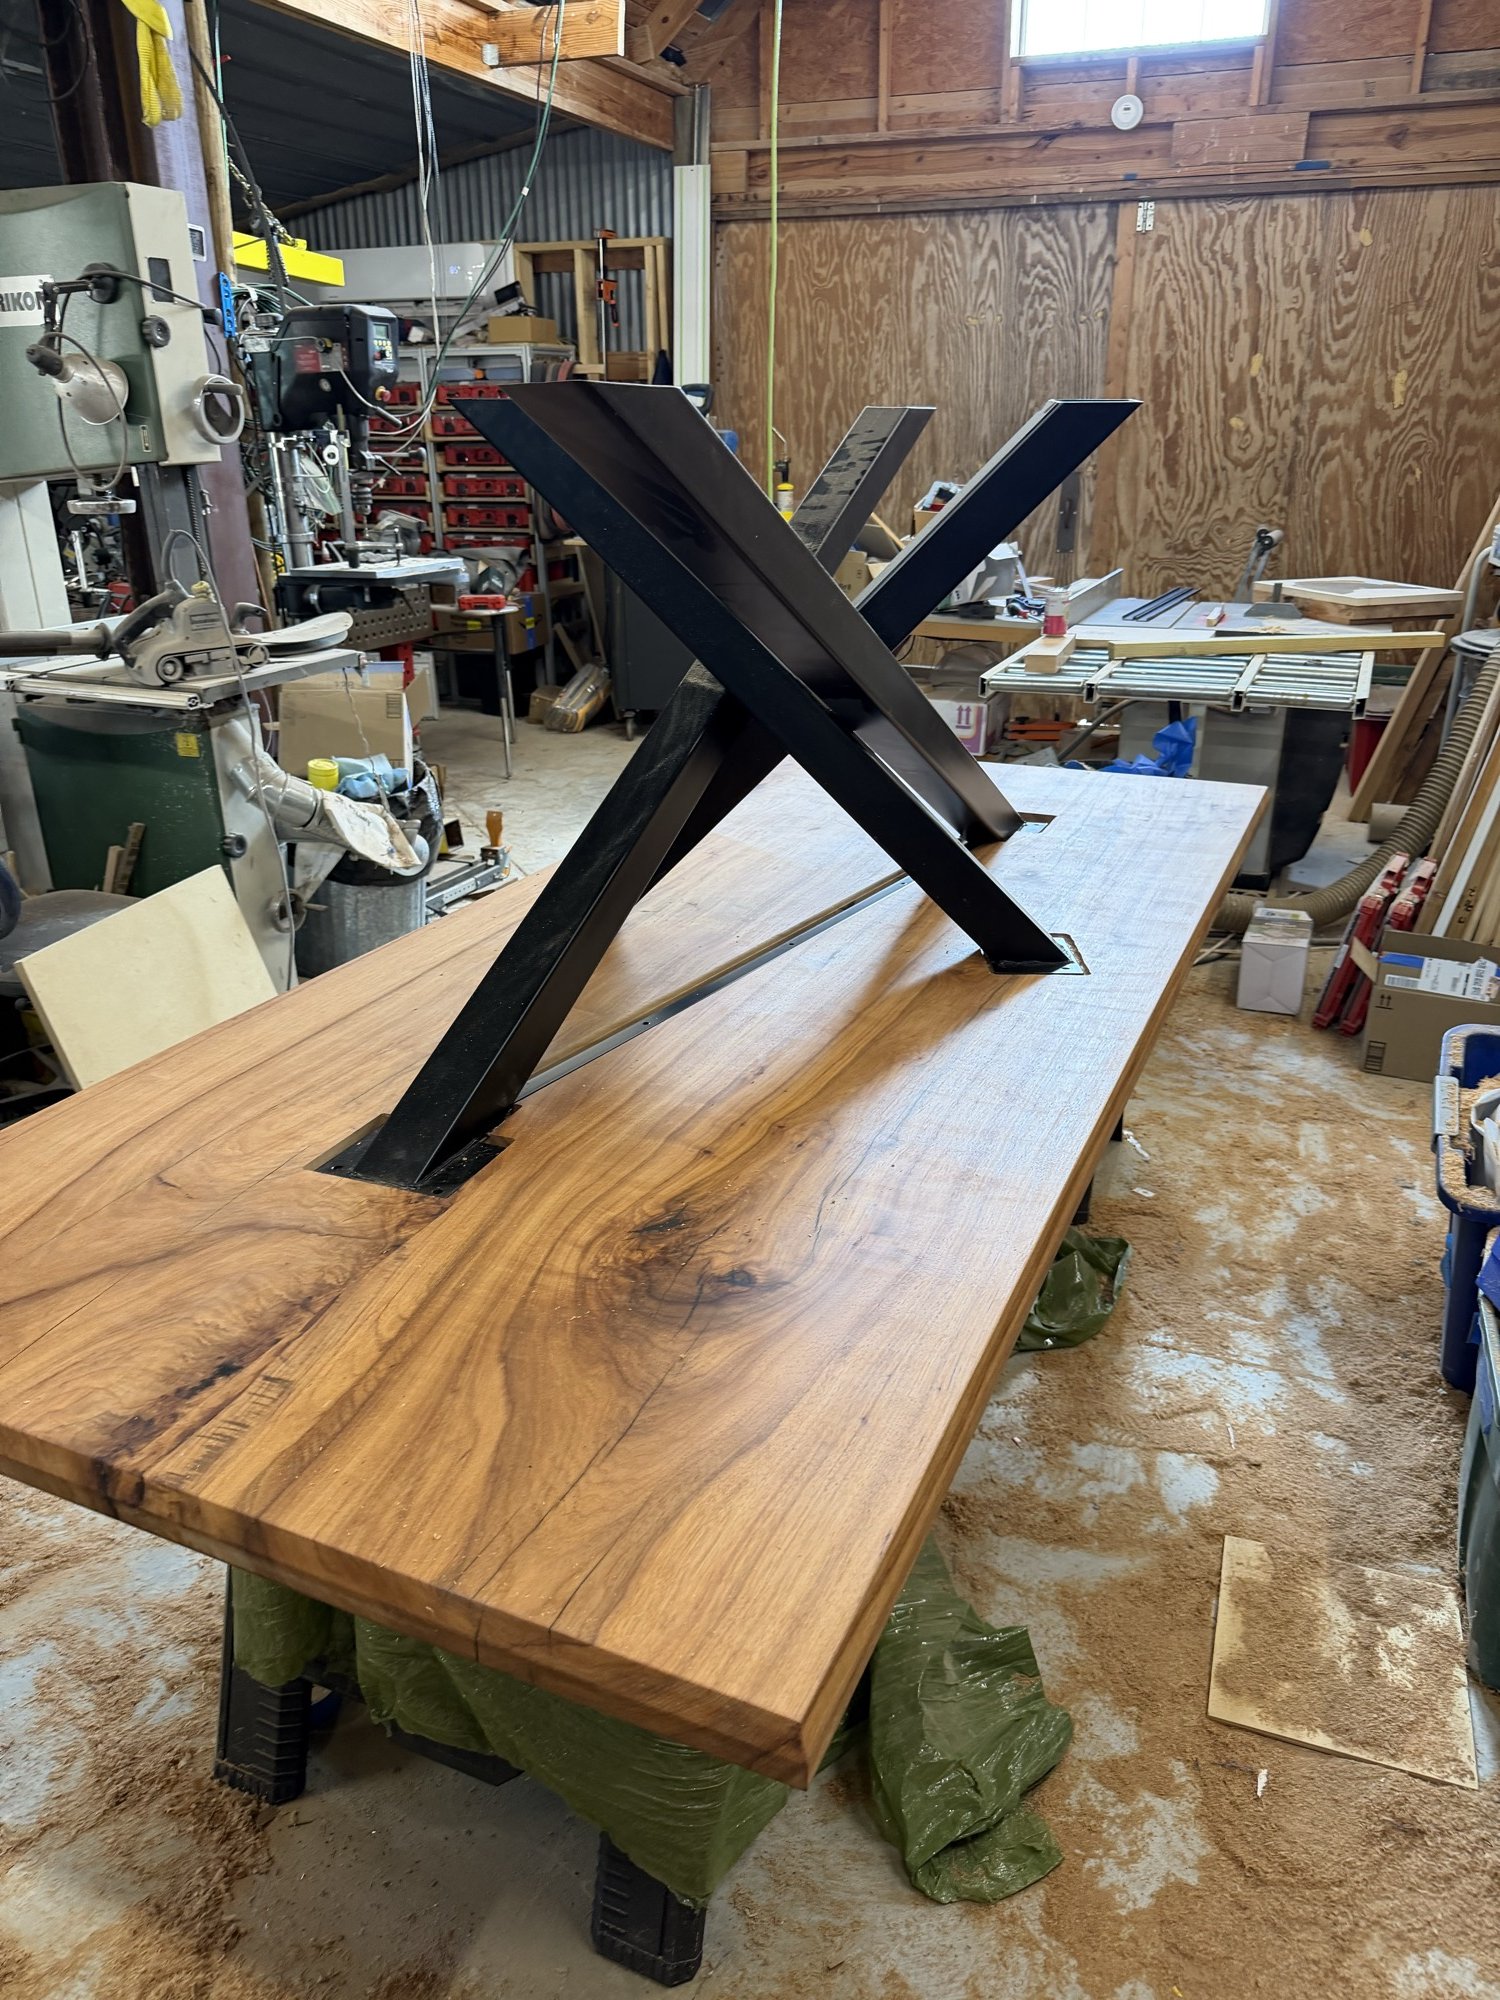
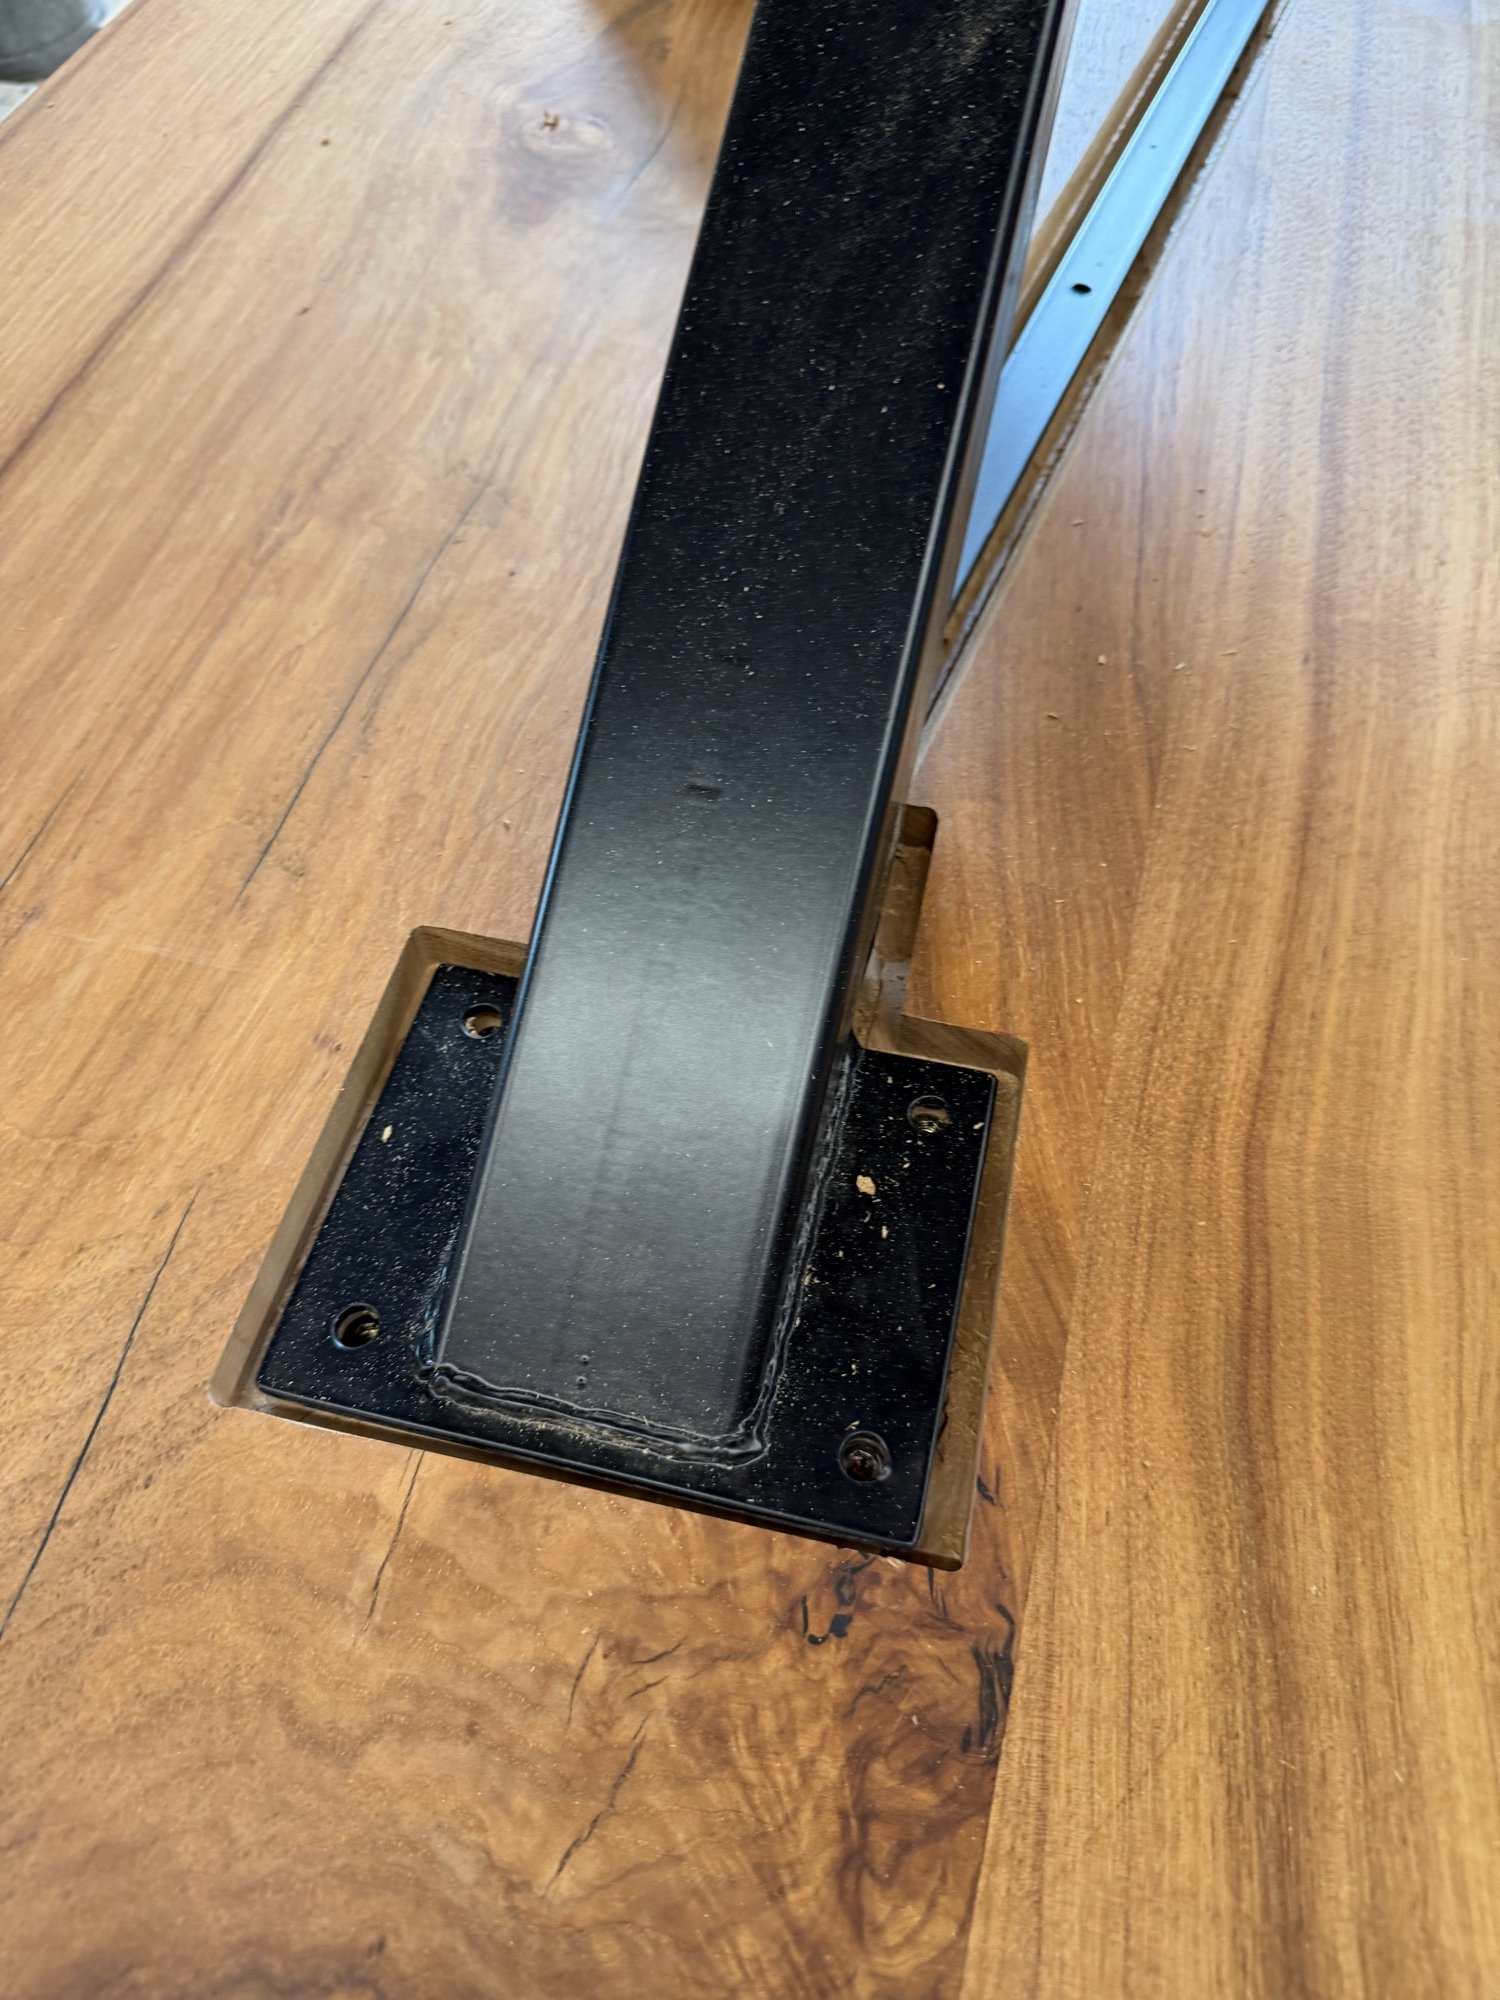
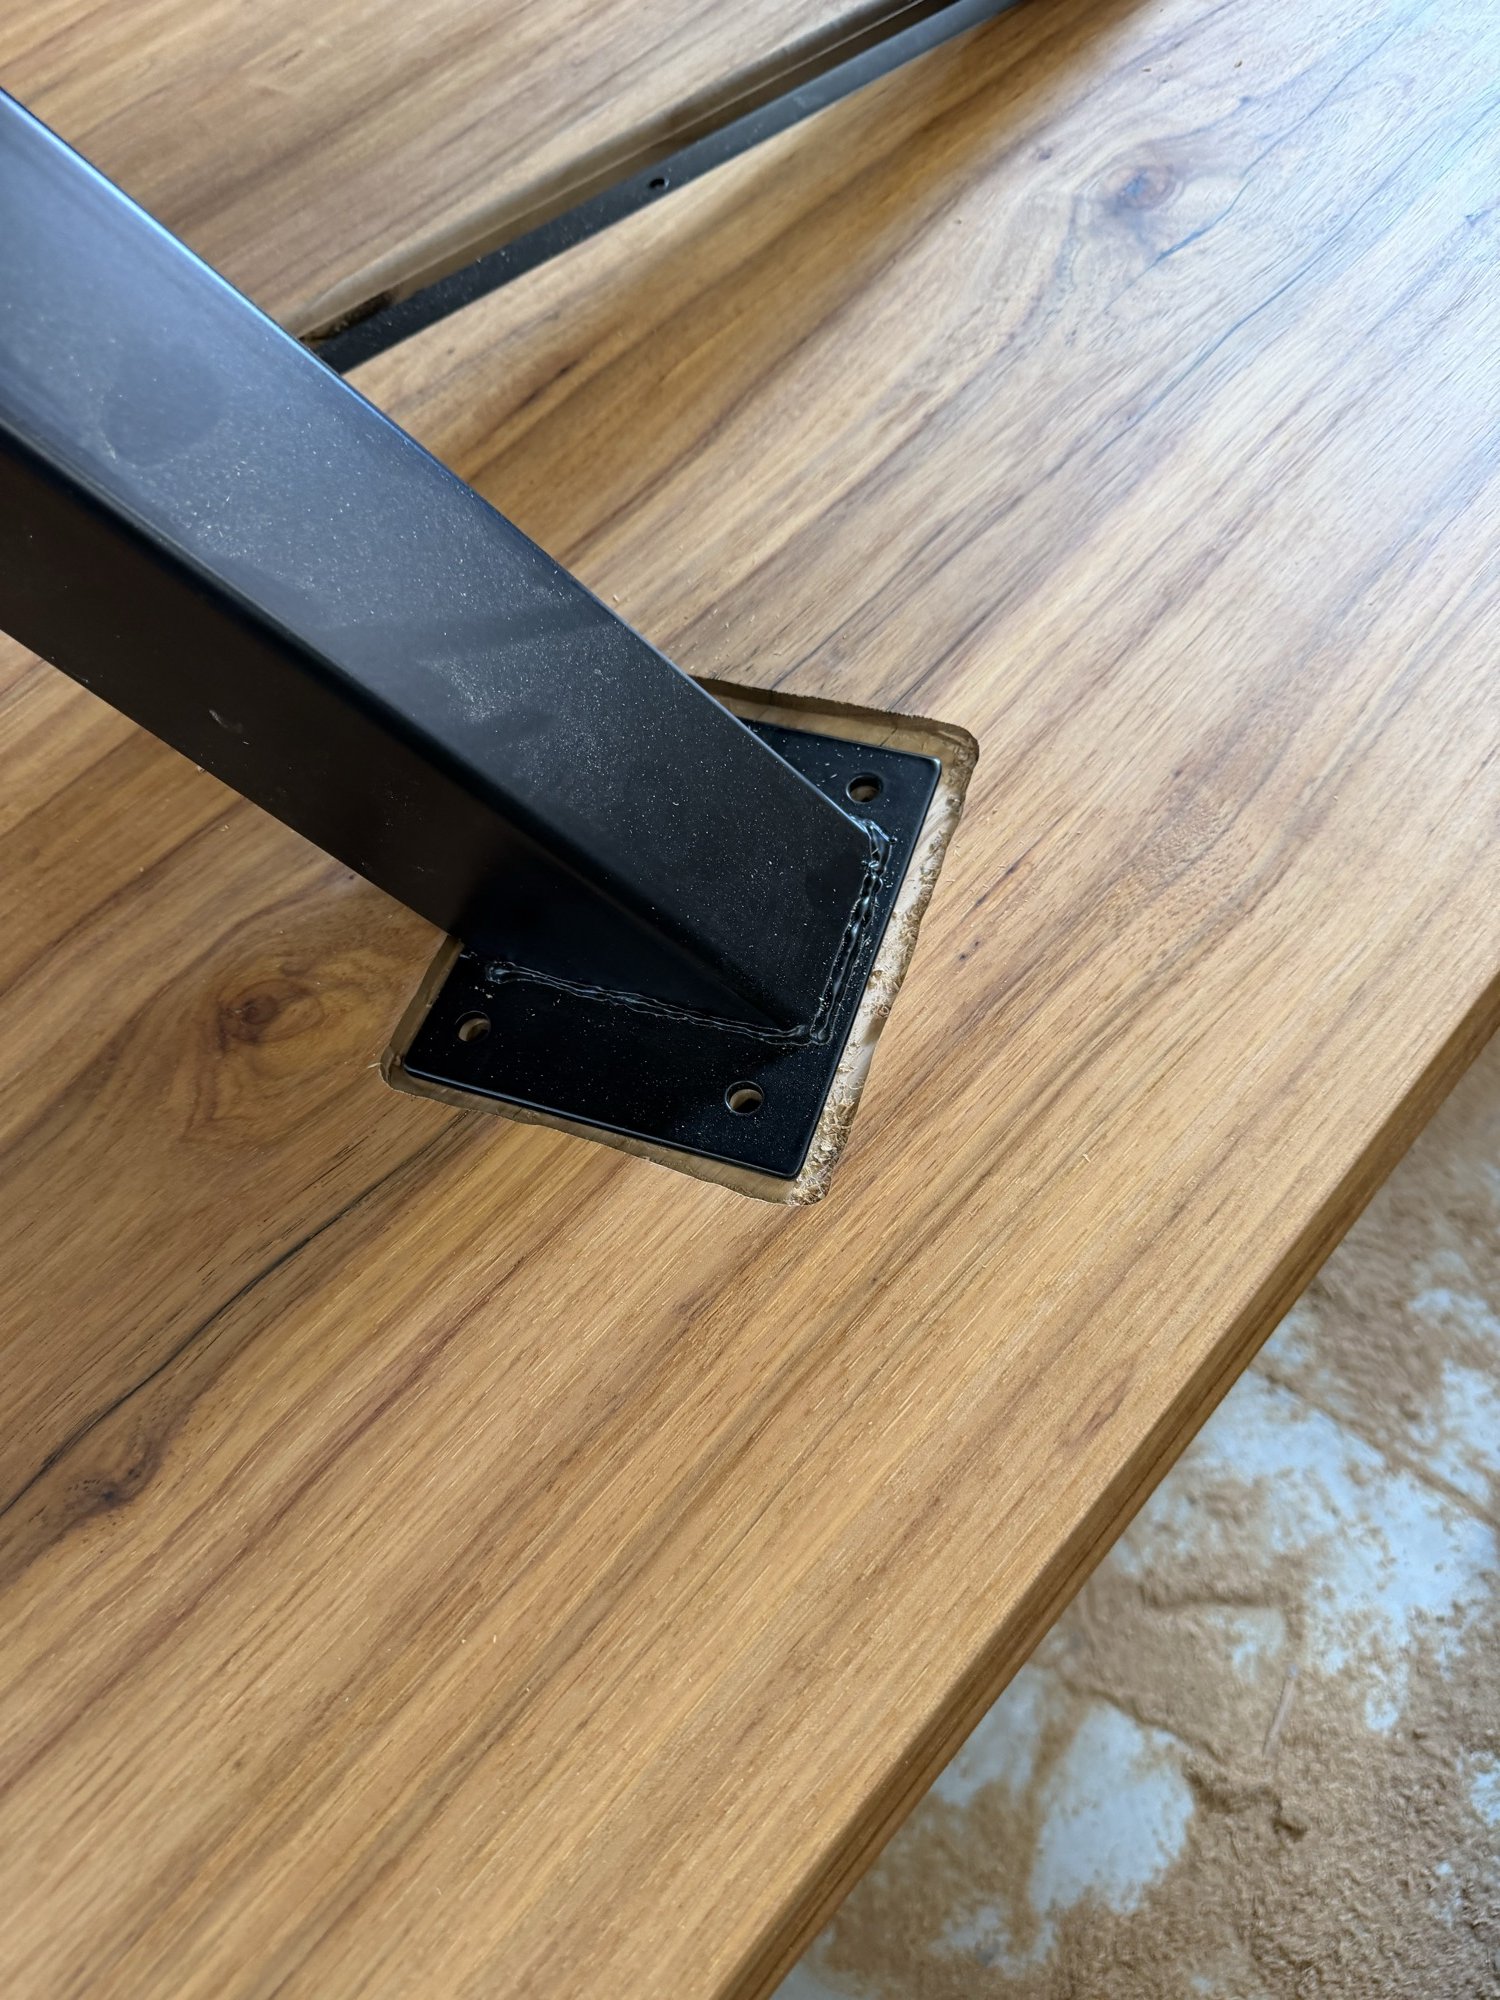
To attach the base to the tabletop, pockets are routed into the table. Threaded inserts are then added to 1/4-20 bolts can be used to attach the flanges on the legs to the wood tabletop itself.
Finished
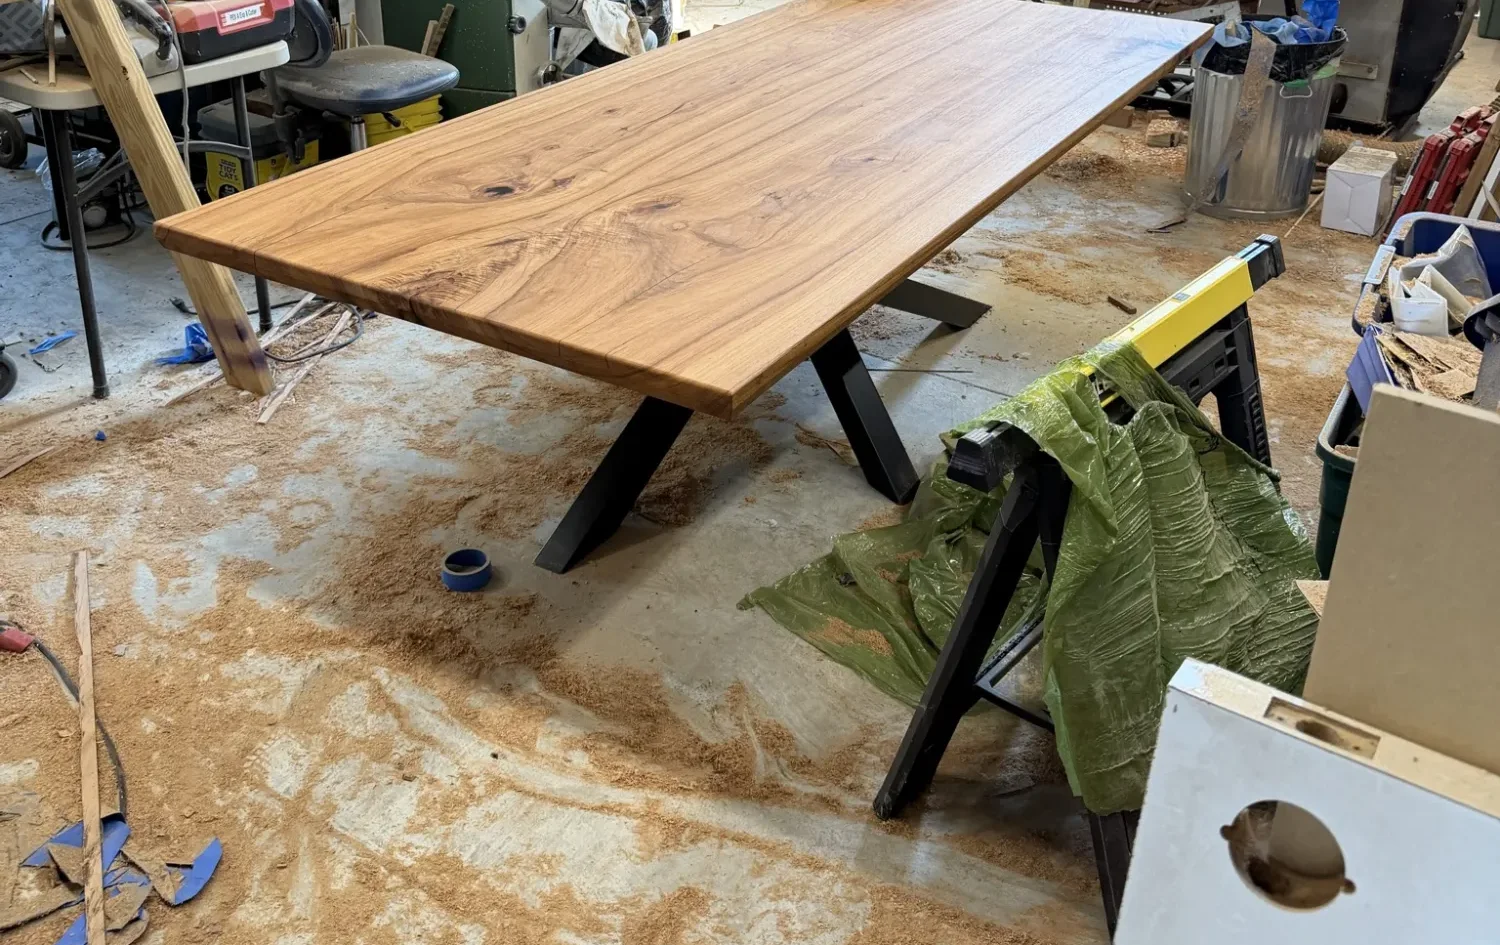
After the inserts are installed and the routing was completed, the table is done and ready to be moved to the house.
Moving to the house
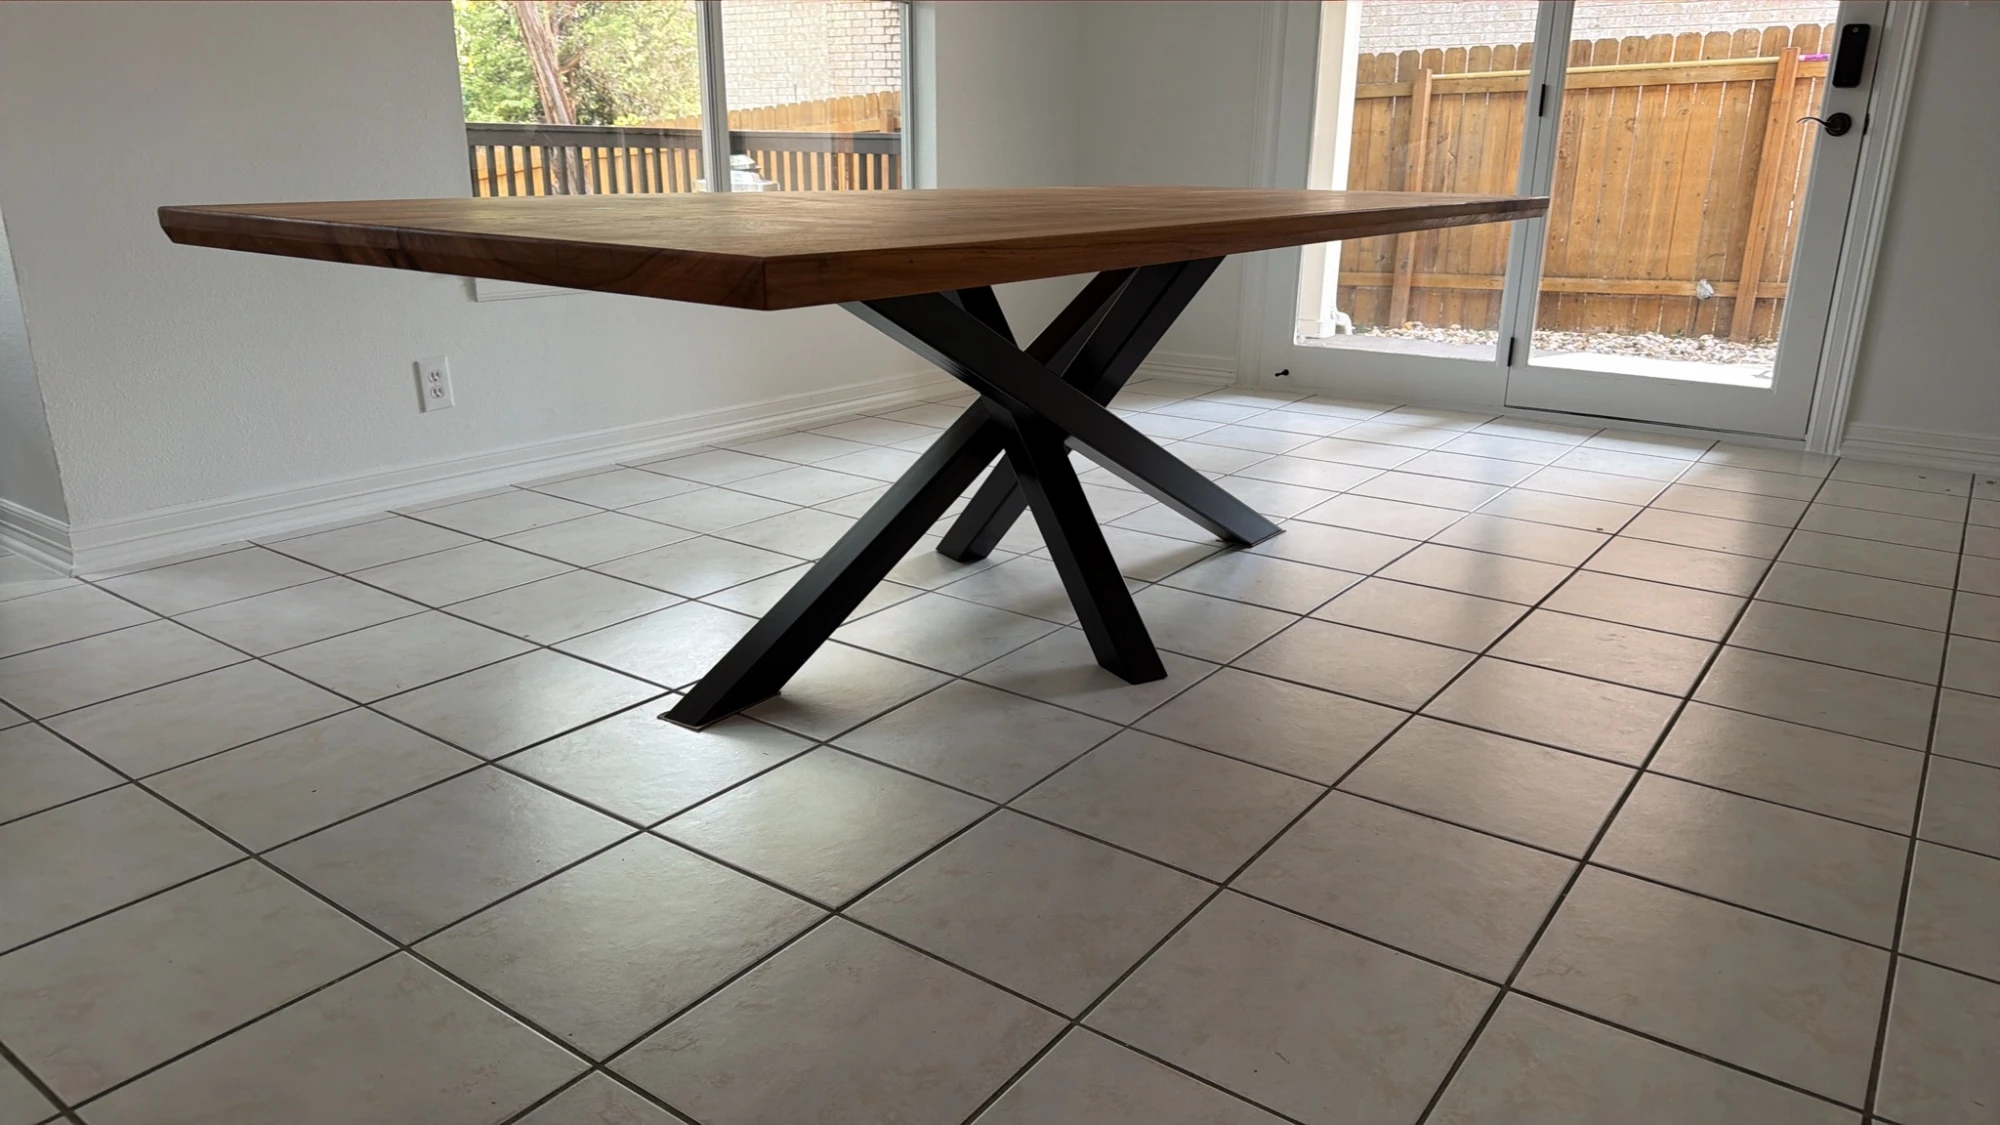
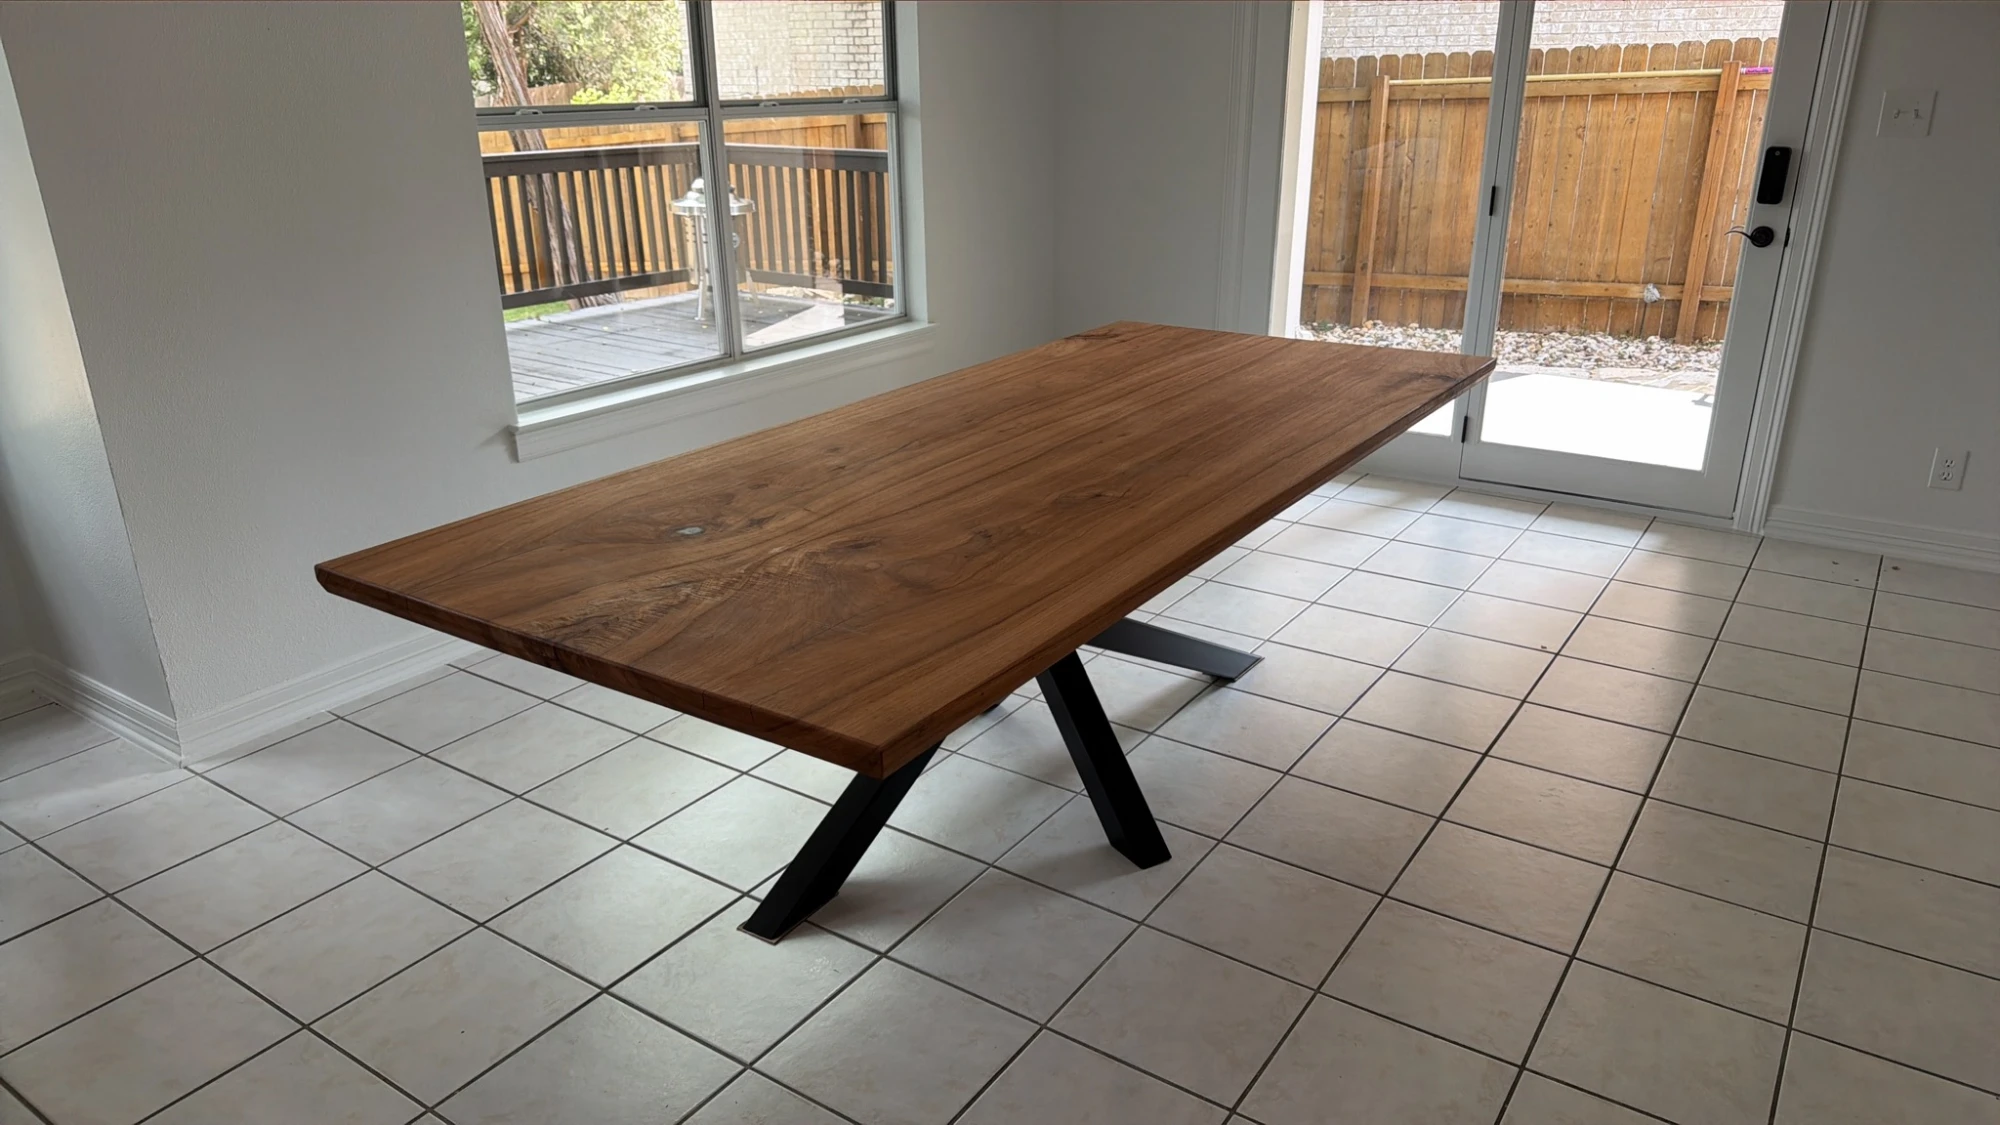
The pieces were separated and moved into the house, where they were reassembled. Ready for BBQ!
Sources
The table base is a common design, but I first saw it from Blacktail Studio.